
This is part 4 of my Always On VPN series
You can review the pervious posts if required:
- Always On VPN Entra Join – Part 1 Whats needed – Andy Kemp
- Always On VPN Entra Join – Part 2 Certificate Templates – Andy Kemp
- Always On VPN Entra Join – Part 3 Core Always On VPN Infrastructure – Andy Kemp
- Always On VPN Entra Join – Part 4 Configure Always On VPN for Entra Joined Devices – Andy Kemp
- Always On VPN Entra Join – Part 5 Deploy Always On VPN for Entra Joined Devices – Andy Kemp
Introduction
The infrastructure you have in its current state is great if you’re still running everything from a Domain Joined perspective. If you are, then why? I don’t mean to sound patronising , pushing, arrogant, or maybe insensitive, but in todays device landscape switching to Entra Joined is becoming the way (In the words of The Madalorian “This is the way”). Any how I digress, to use Always On VPN from an Entra Joined (or the artist formerly known as Azure AD Joined or AADJ) you will need some additional infrastructure to ensure your clients can get the certificates needed. There are two ways to do this:
- Via an on-premises Simple Certificate Enrollment Protocol (SCEP) servers id Network Device Enrollment Service (NDES)
- Via a cloud SCEP service such as Microsofts Cloud PKI or a 3rd party like SCEPMan
This part takes you through the journey of setting up NDES for this. I will also post something later about using Microsofts Cloud PKI.
What’s needed
In order to setup NDES and provide Certificates to Entra Joined Clients you will need the following:
- NDES Server
- Microsoft Intune Certificate PKI Connector
- Microsoft Entra Private Network Connector (the artist formerly known as AppProxy)
- NDES Service Account – Should already be setup in Part 2
- SCEP Certificate template – Already setup in Part 2
- Trusted Root Certificate
The NDES Role and Certificate connector need to be on the same server Entra Private Network Connector can all be installed on the one Server if you wish (this is what I have done) or on its own.
Install the NDES Certificate
First let’s add the NDES Certificate. For this the NDES Server needs to be added to the NDES Servers Security Group that has the permissions to obtain the NDES Certificate which is required for IIS.
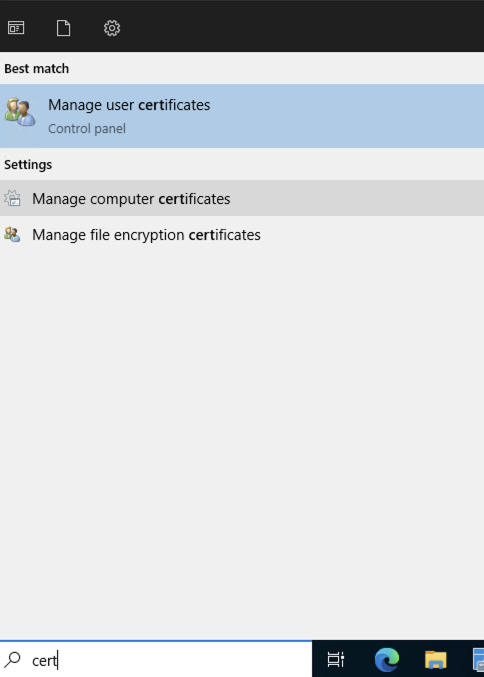
Load upManage Computer Certificates:
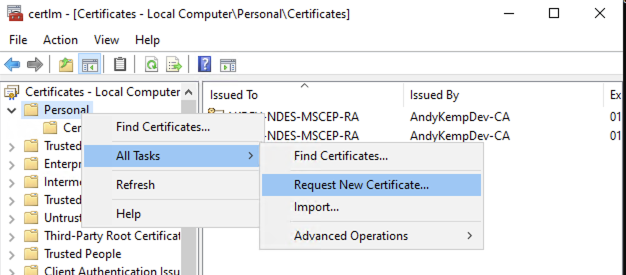
Like before right click onPersonaland selectAll Tasksand thenRequest New Certificate:
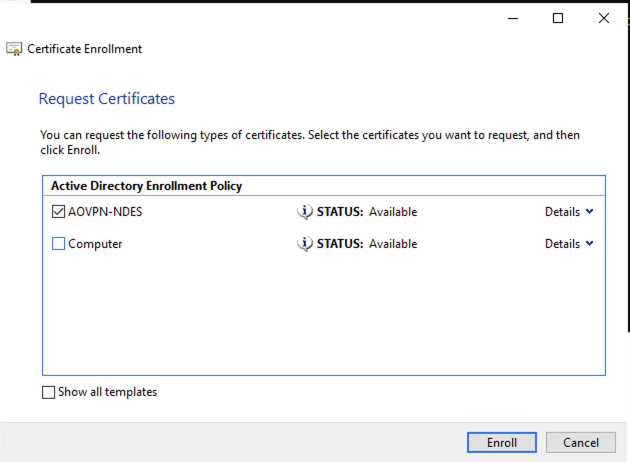
Like before go through the windows by selectingNext, selectActive Directorywhen prompted thenNext, then selectAOVPN-NDESas the certificate and clickEnroll
If you have an error, like before restart the server
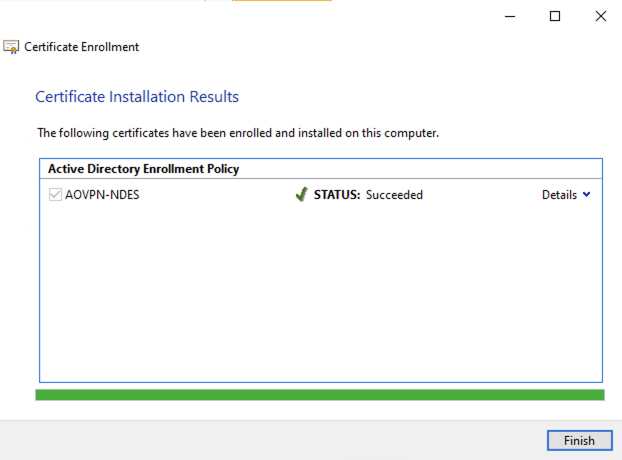
The certificate will then be installed:
Installing the NDES Role
Now, I know in my previous part I mentioned that I do everything remotely when possible however for this I need to do everything on the desktop of the server.
First things firstIE Enhanced Security Configurationneeds to be disabled for the installation of the connectors.
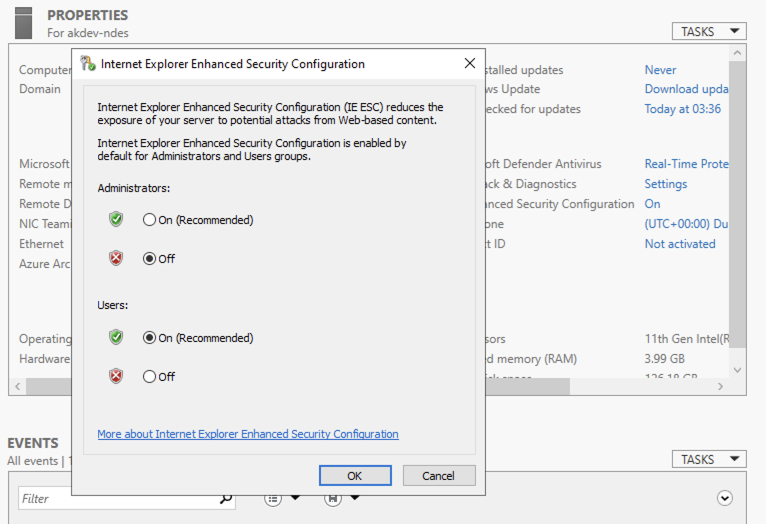
Now thats done lets install the NDES role. As mentioned before its easier to install the roles via the Add-WindowsFeature so open a PowerShell Admin console and run the following command:
`Add-WindowsFeatureAdcs-Device-Enrollment`
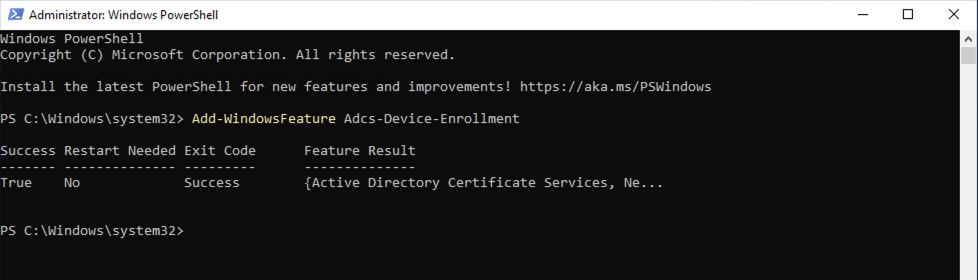
Once installed keep the powershell windows open and run the following command to add the NDES Services account to IIS_IUSRS group:
`Add-LocalGroupMember-Group"IIS_IUSRS"-Member"AKDEV\svc_NDES"`

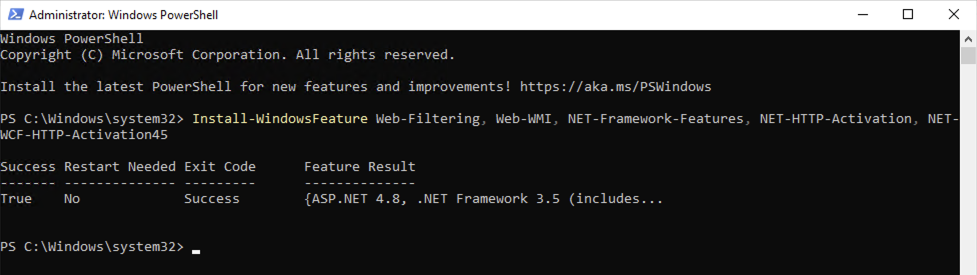
The following roles and features need to be installed alongside for the Certificate Connector.
`Install-WindowsFeatureWeb-Server,Web-Filtering,Web-WMI,NET-Framework-Features,NET-HTTP-Activation,NET-WCF-HTTP-Activation45-IncludeManagementTools`
Now, back to Server Manager and click the link toConfigure Active Directory Certificates Services on the destination server
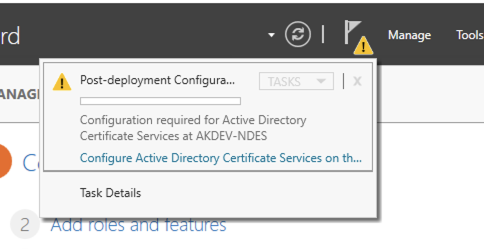
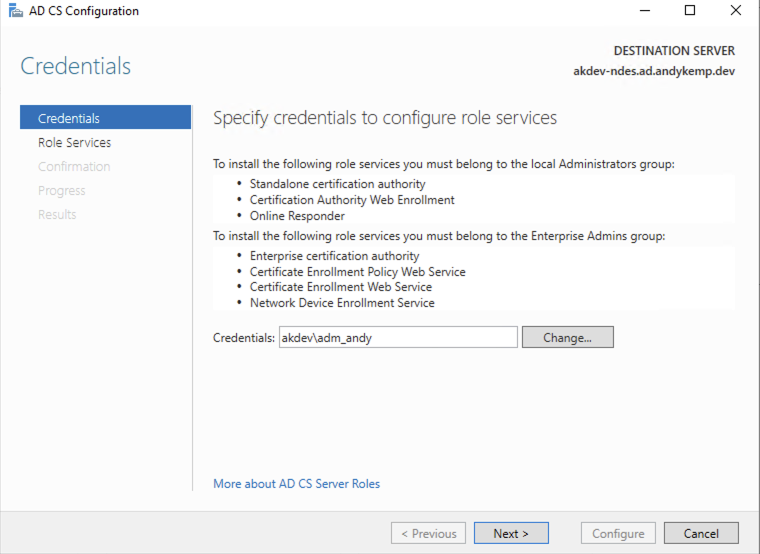
Follow through the next few screens and prompts. This first one only requires the account that is needed to configure the service, so this is the account you’re logged on to the desktop with.
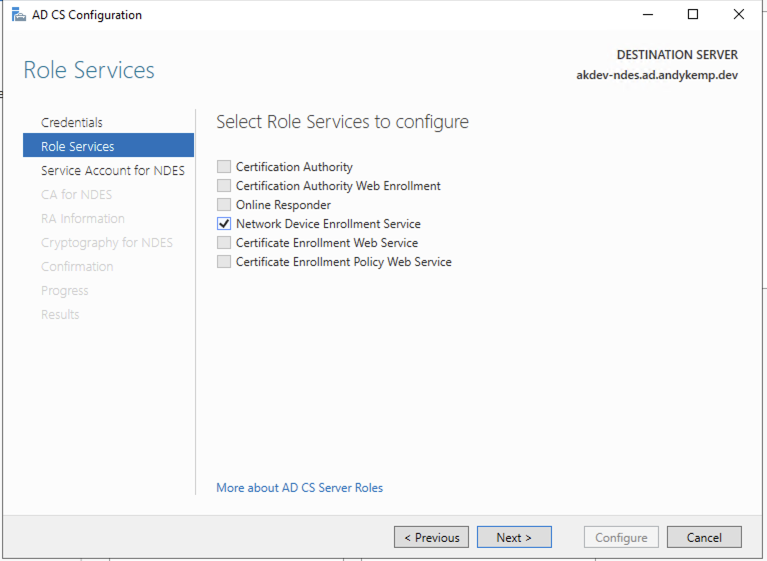
As we only installed the one role in ADCS there is only one to select:
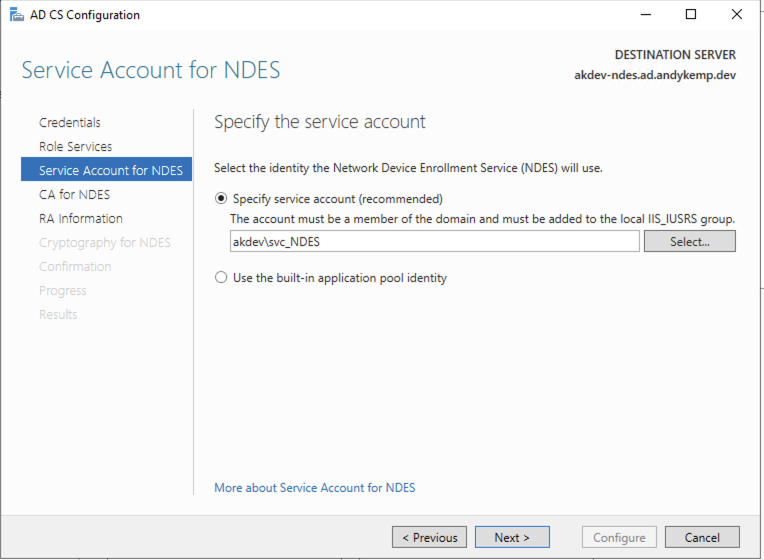
Specify the Service account
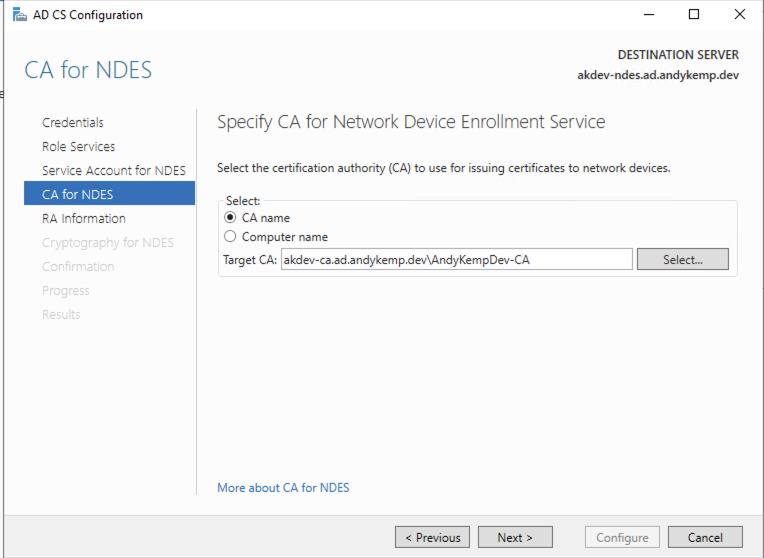
click onSelectand select the Root CA
These settings can be customised the RA Name could be updated if you have more than one NDES server in place. The other information is optional.
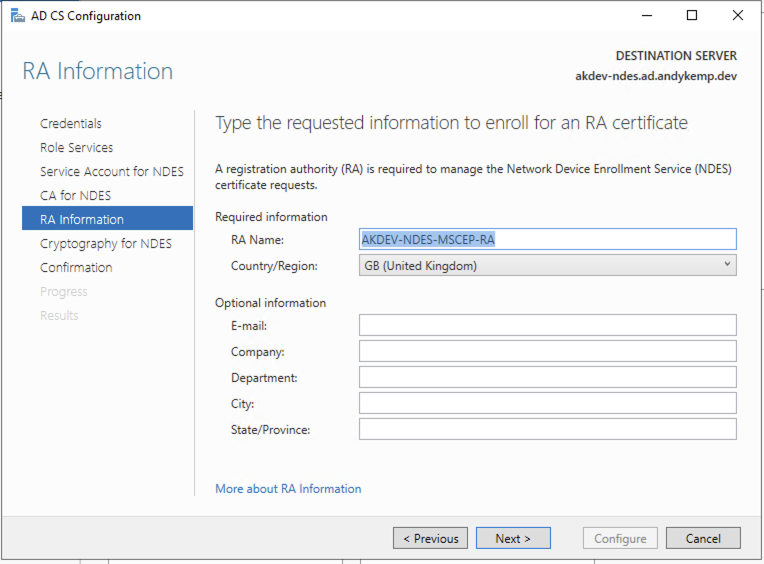
Leave these settings as they are
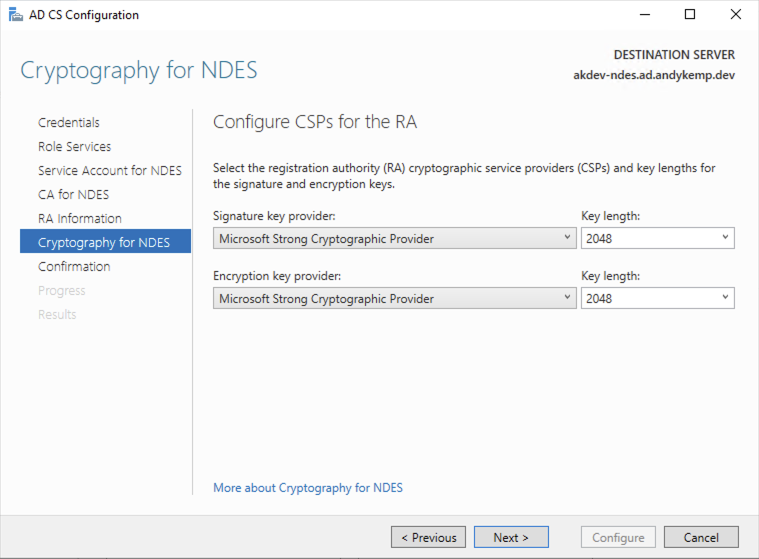
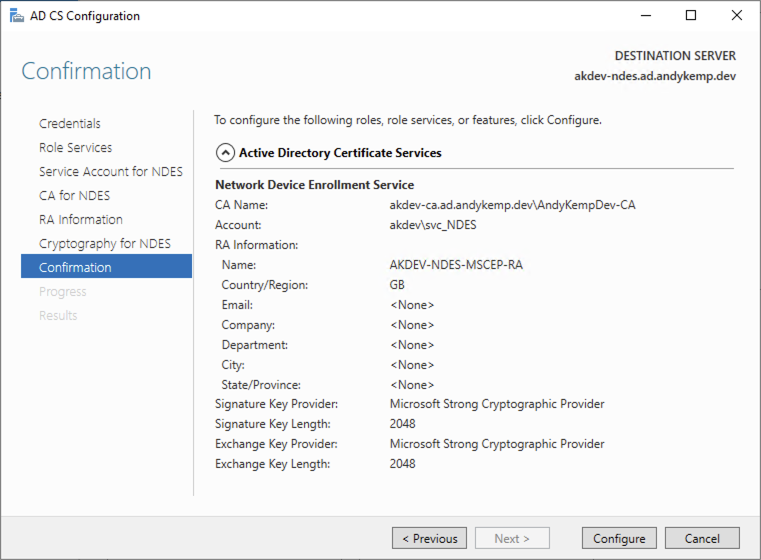
Review what you have setup and clickConfigureif you’re happy
IT should then configure successfully:
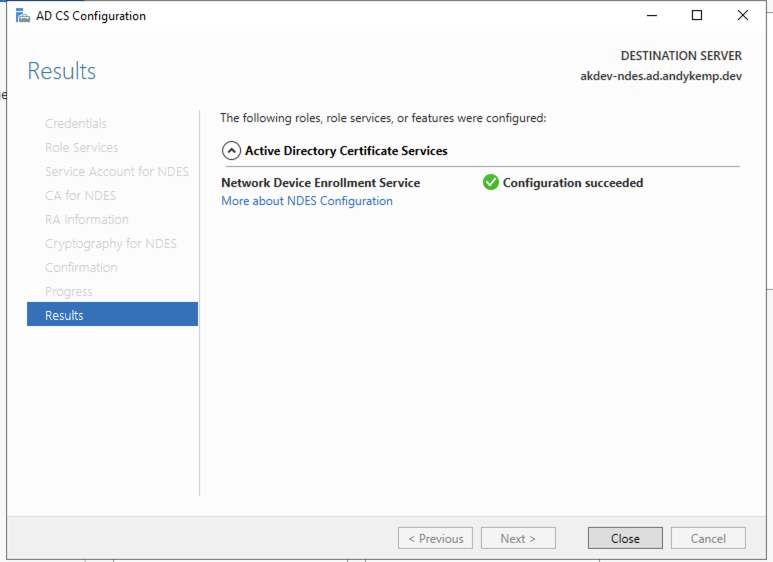
Click Close
Configure IIS
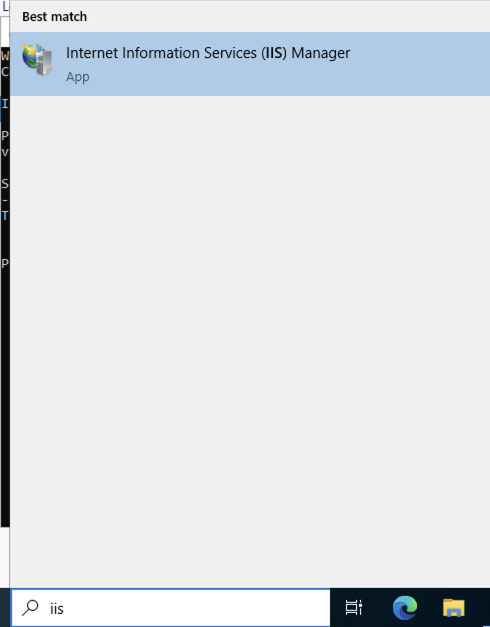
We now need to configure IIS to allow https traffic. Load up IIS:
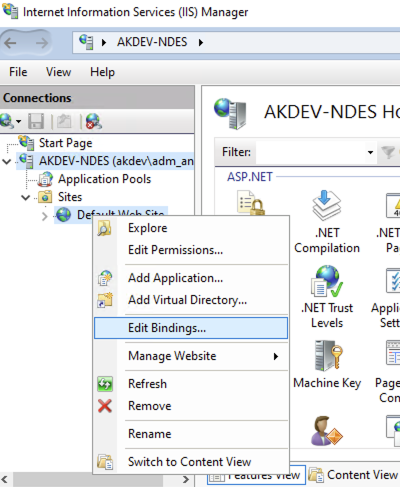
Right click on theDefaultwebsite and selectEdit Bindings:
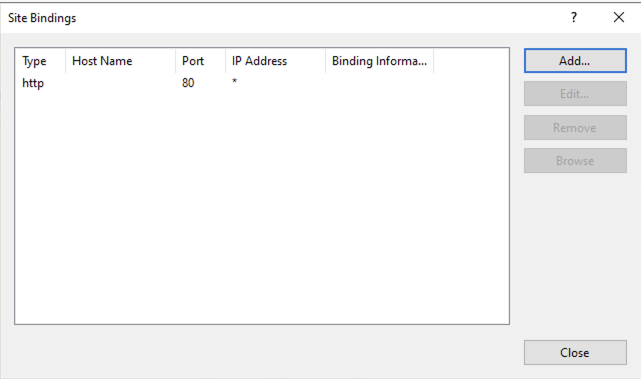
Click onAddand then selectTypeashttpsand then set theSSL certificateto be the certificate that was obtained previously.
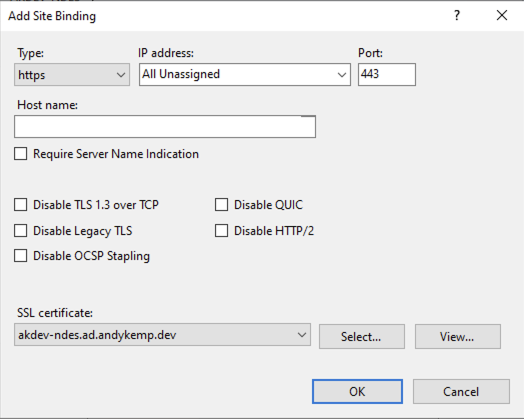
ClickOKand then clickClose
Then from a client device goto the following URL:\
NBreplace the server name with your own server
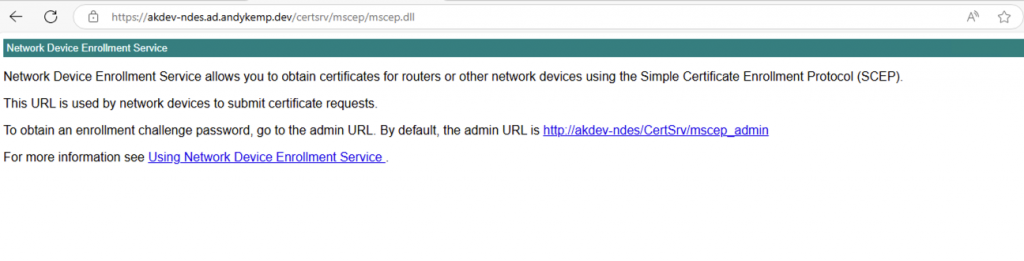
https://akdev-ndes.ad.andykemp.dev/certsrv/mscep/mscep.dll
If NDES is setup correctly you will see the following:
Set the service Principle for NDES
The service principal for the NDES is essential for enabling network devices to obtain certificates without using domain credentials. Here are the key points about the service principal for NDES
This is a simple one line command in an elevated command shell:
`setspn-s http/akdev-ndes.ad.andykemp.dev akdev\svc_NDES`

Update the Registry
The last step for NDES is to update the registry to issue the NDES certificate, so run regedit:
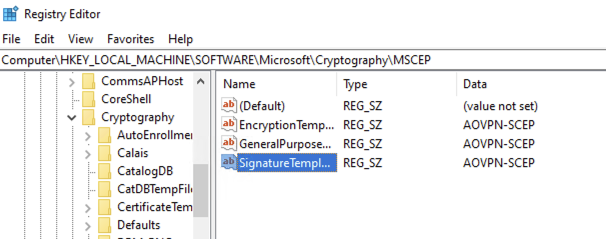
Go to:Computer\HKEY_LOCAL_MACHINE\SOFTWARE\Microsoft\Cryptography\MSCEP
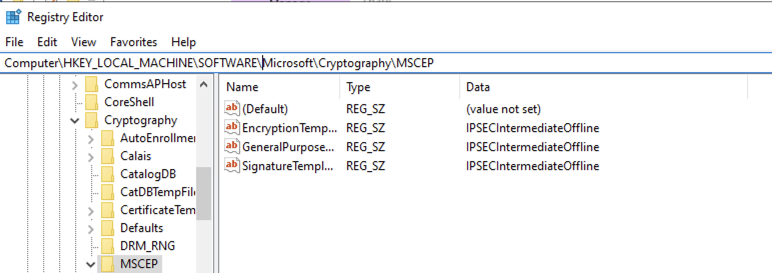
Update each one of these values to match the name of the Always On VPN SCEP Certificate that was created in part 2, in My case it is AOVPN-SCEP:
Install the certificate connector
The Certificate Connector for Microsoft Intune is essential for enabling secure certificate issuance and management through Intune, particularly when integrating with on-premises NDES and Active Directory Certificate Services. It facilitates communication between Intune and the NDES server, allowing devices managed by Intune to request and receive certificates from the internal Certification Authority (CA). This setup supports the use of SCEP to authenticate connections to apps and corporate resources. The connector should be installed on a dedicated server, separate from the issuing CA, and requires the NDES role, Intune Certificate Connector, and Microsoft Entra Private Network Connector to be configured properly.
Log on to the Intune portal and go toTenant administratorand selectConnectors and tokens
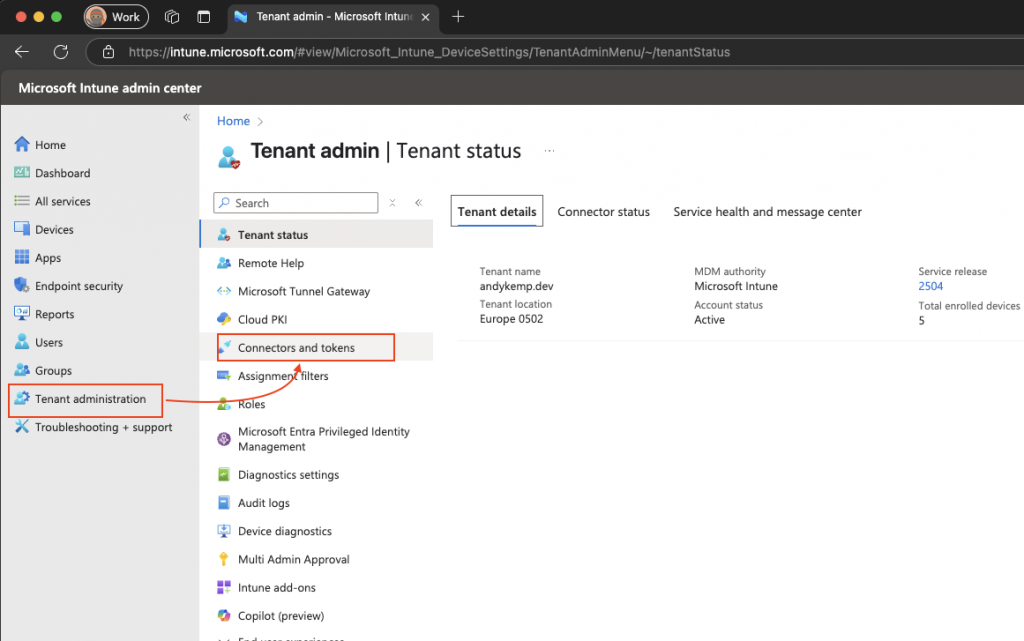
SelectCertificate connectorsand then clickAddand then click on thecertificate connectorlink to download the connector
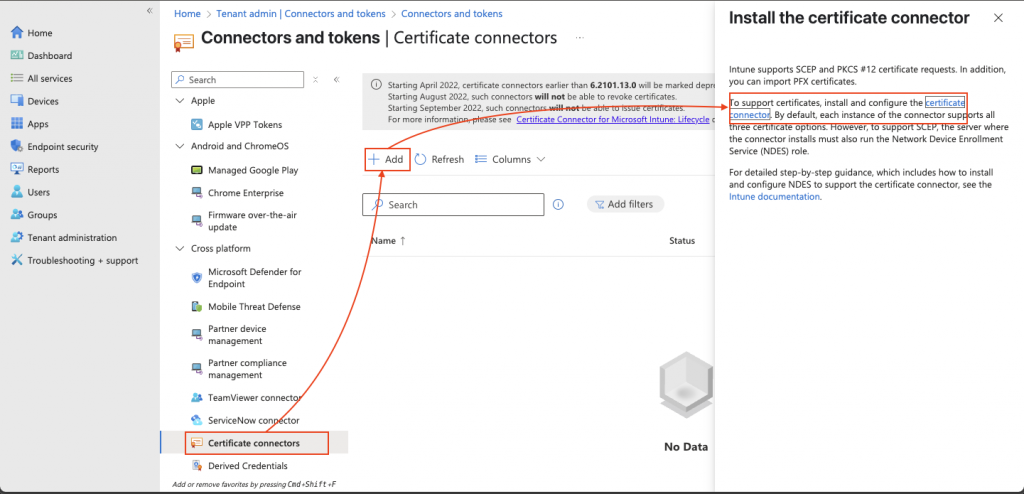
The connector is now ready to install. The cloud user used for the connector needs to have an Intune License assigned to it and also requites the Intune Administrator Role
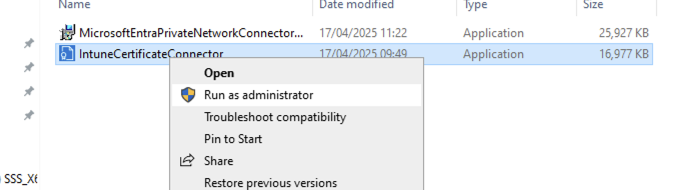
NBthe Intune Certificate Connector needs to be run as Administrator
Right click on theIntuneCertificateConnectorand selectRan as administrator:
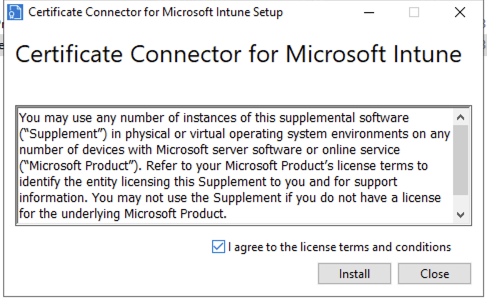
Agree to the license terms and click onInstall
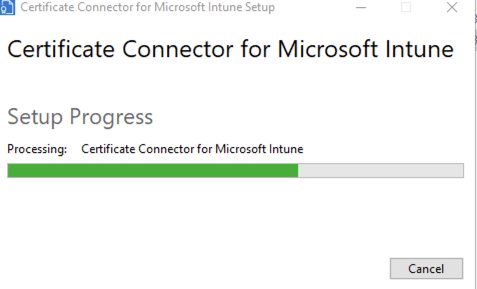
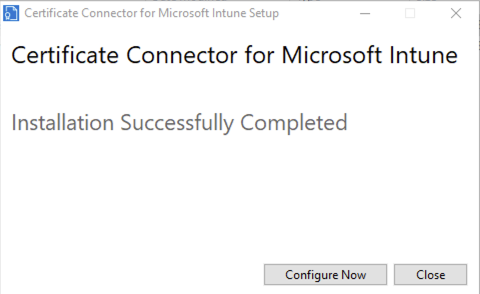
Once installed click onConfigure Now:
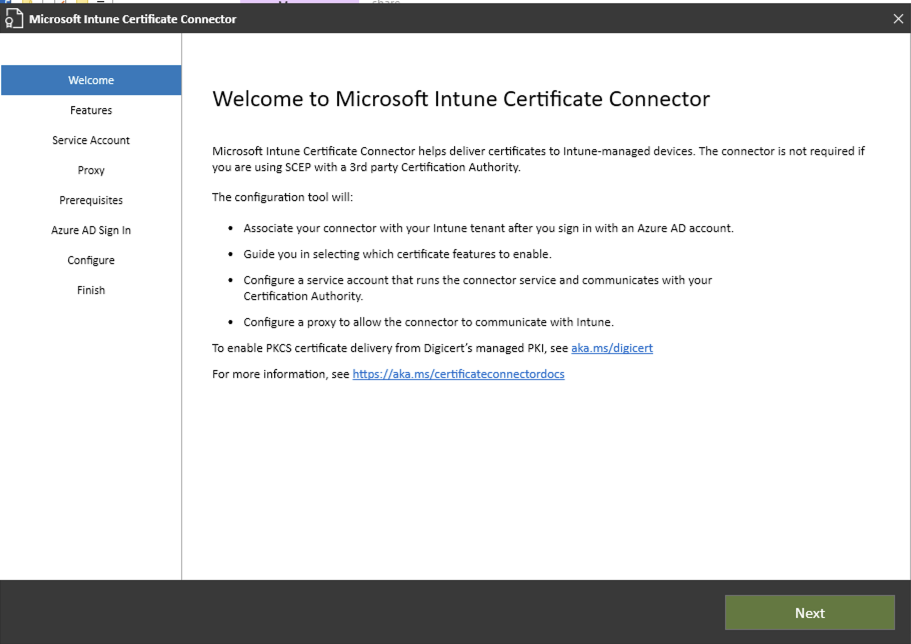
ClickNextat the welcome screen
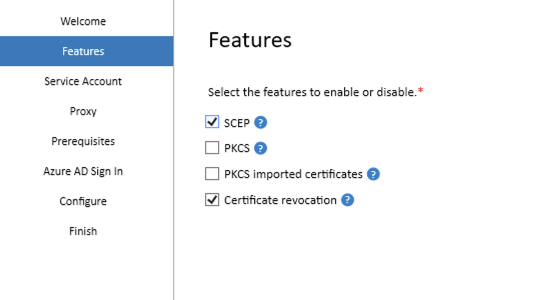
The only services to install areSCEPandCertificate revocationthen clickNext
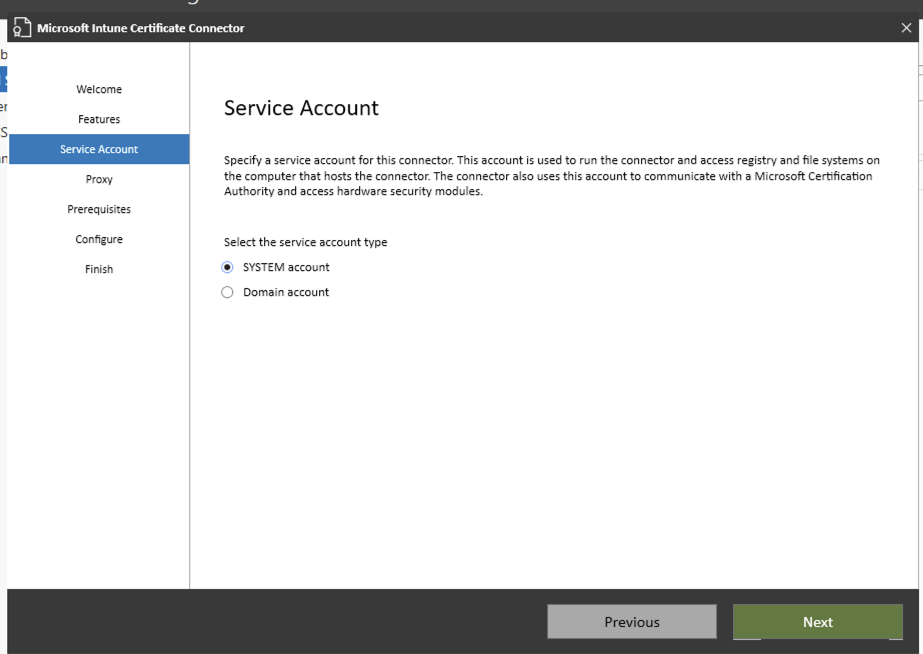
SelectSystem accountand then clickNext
Enter proxy information if you use a proxy other wise just leave blank and then clickNext
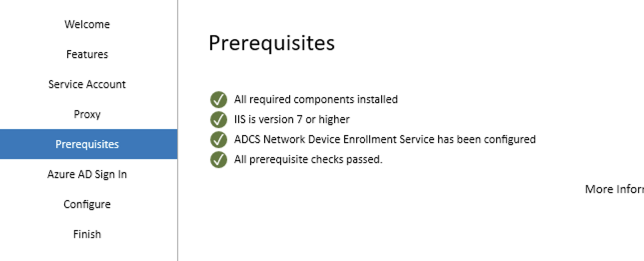
All being well we should have all prerequisites installed so click onNext. If not review the missing prerequisites and add them:
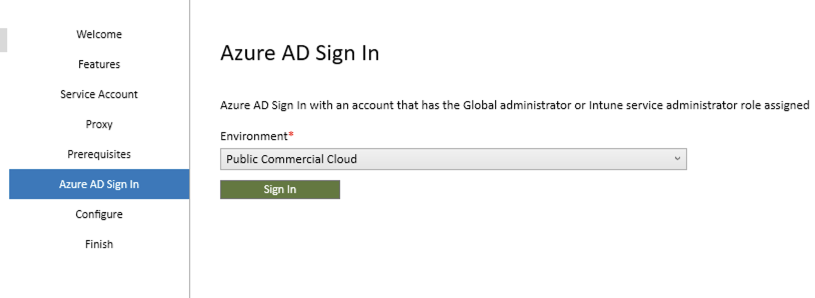
As you can see on the next screen Microsoft still have not updated the install for Entra Sign In, so select the relevant Azure AD Sign In, chances are itsPublic Commercial Cloudand clickSign In:
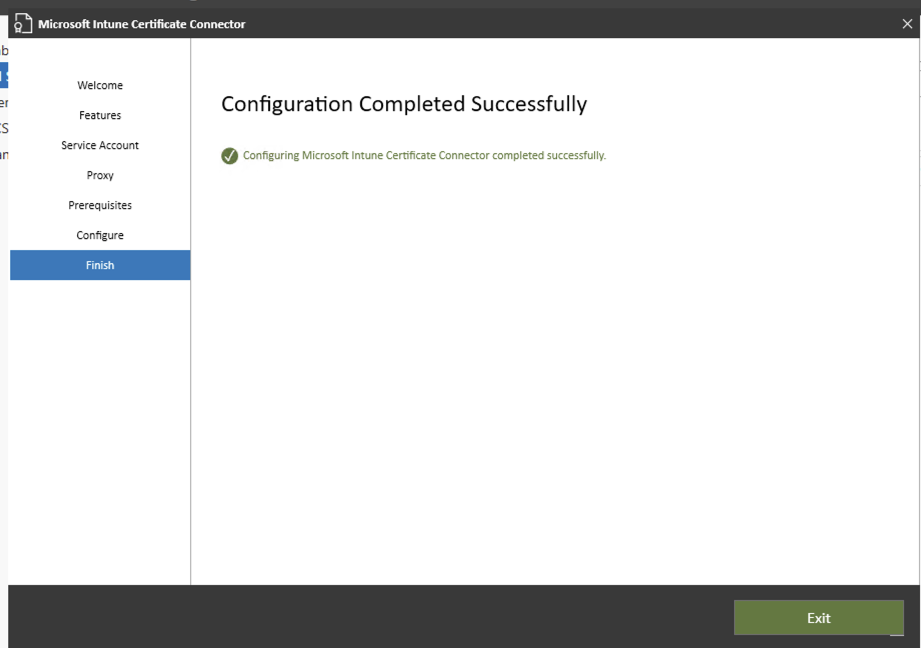
Again all being well you should see the following. Click exit
If you then go to the URL as before you may notice you get an error:
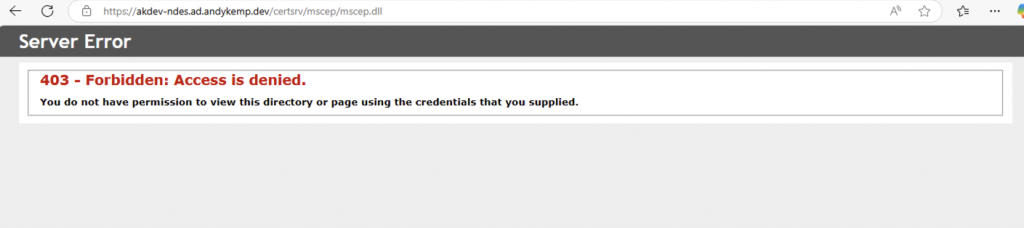
Don’t worry thats normal
The next step is to publish the URL Publicly via Microsfot Entra Private Network Connector.
Configure Microsoft Entra Private Network Connector
Microsoft Entra Private Network Connector (PNC) (or the artist formally known as App Proxy) is used in this case to allow users to access the URL of the NDES server when connecting from the internet from an Entra Joined device.
Install the Microsoft Entra Private Network Connector
In the Entra Portal (https://entra.microsoft.com) gotoApplications > Enterprise applications > Private Network connectors > Download connector service
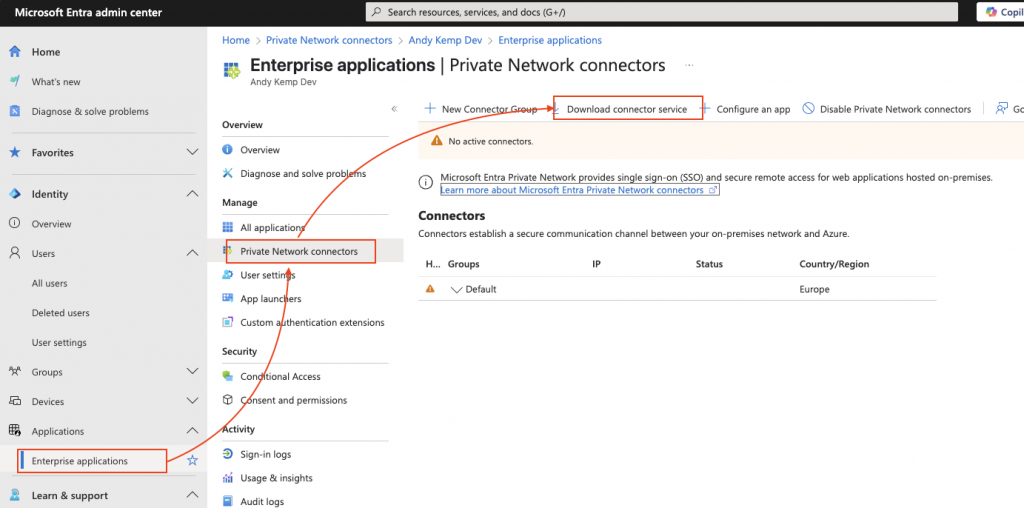
Once downloaded copy on to the server and run:
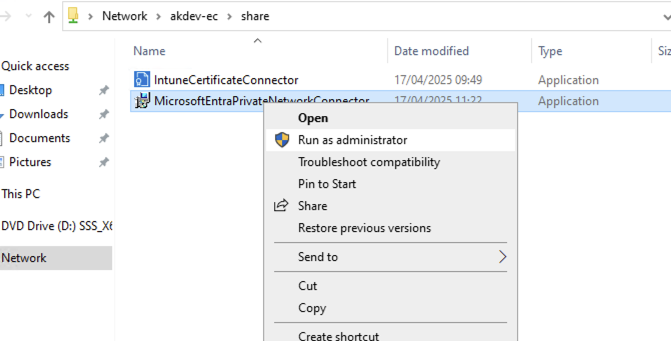
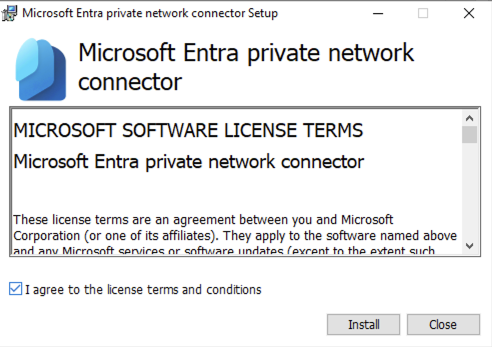
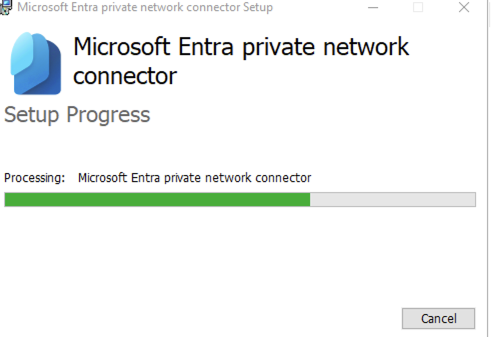
During the install you will be prompted for the credentials sign in to Entra for this role I believe that Global Admin role is required
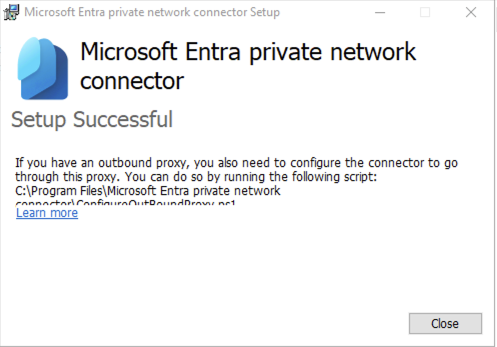
Thats the connector installed.
Configure an Enterprise Application
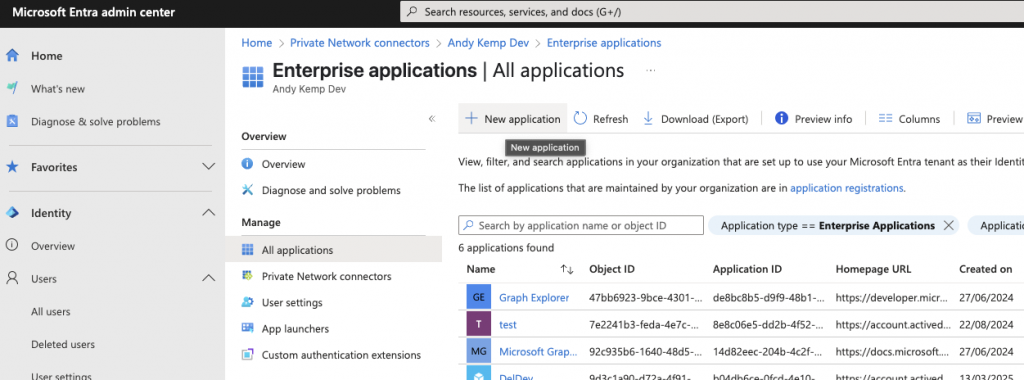
The next step in the puzzle is to create an Enterprise Application, so head back over to the Entra Portal and log in with a privileged account with the Application Administrator role if you are using the principle of least privilege (PoLP) gotoEnterprise Applicationsand click onNew application:
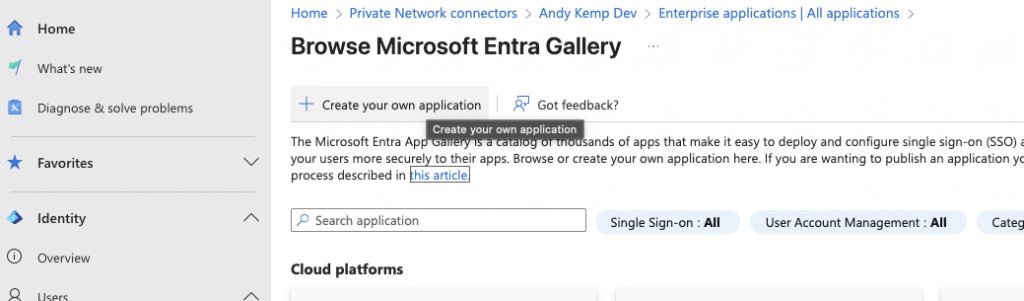
Click onCreate your own application:
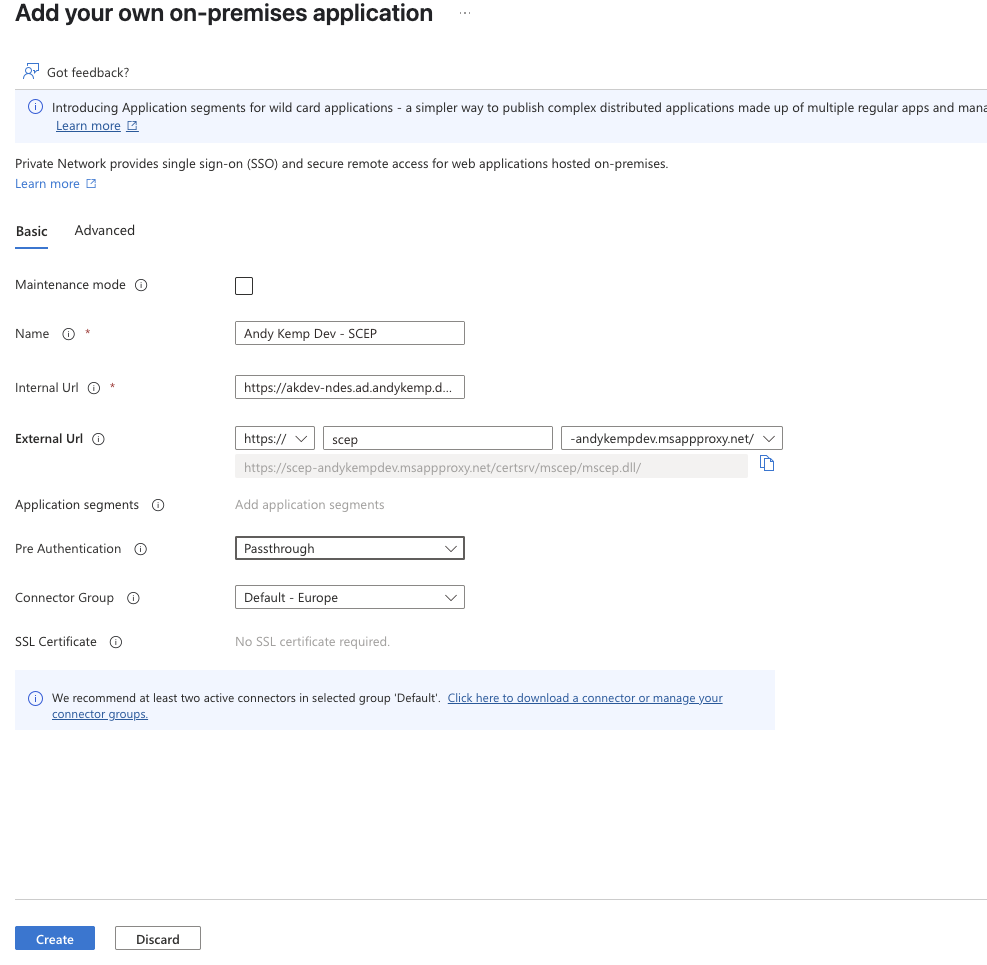
Enter the details and selectConfigure Application Proxy for secure remote access to an on-premises application:
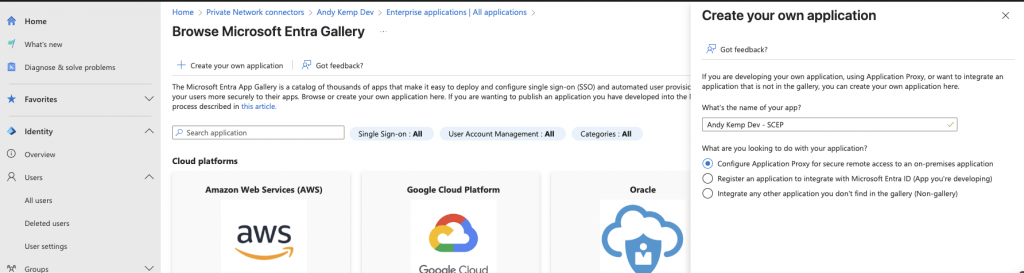
You’ll need to add the name again here and then the following:
Internal Urlthis is the internal NDES URL so in my case it is https://akdev-ndes.ad.andykemp.dev/certsrv/mscep/mscep.dll however, you will also need to ensure there is a trailing / at the end of the Url: https://akdev-ndes.ad.andykemp.dev/certsrv/mscep/mscep.dll/
update the prefix of theExternal UrlI set mine toscep:
And finally for thePre Authenticationensure it is set toPassthrough
Once all this is setup clickCreate:
If you then browse to the External Url https://scep-andykempdev.msappproxy.net/certsrv/mscep/mscep.dll/ you will get the following:
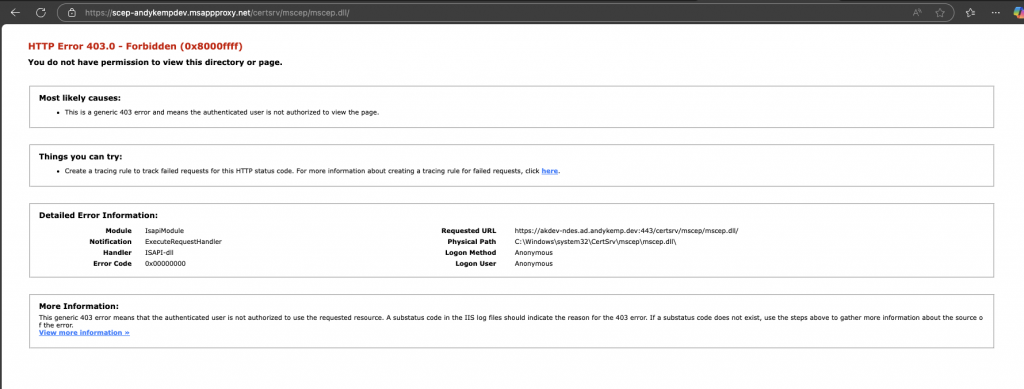
Thats it, its all setup. All being good you should now be able to deploy certificates to client devices in the next part.
Conclusion
We now have setup the NDES infrastructure to enable you to deploy certificates to Entra Joined devices via Intune, this I shall cover off in the next part of the series.
Comments
No comments yet — be the first to leave one below.