
This is part 5 of my Always On VPN series
You can review the pervious posts if required:
- Always On VPN Entra Join – Part 1 Whats needed – Andy Kemp
- Always On VPN Entra Join – Part 2 Certificate Templates – Andy Kemp
- Always On VPN Entra Join – Part 3 Core Always On VPN Infrastructure – Andy Kemp
- Always On VPN Entra Join – Part 4 Configure Always On VPN for Entra Joined Devices – Andy Kemp
- Always On VPN Entra Join – Part 5 Deploy Always On VPN for Entra Joined Devices – Andy Kemp
Introduction
So we now have everything in place for Always On VPN. All we need to do now is to deploy the certificates and the VPN Profile to an Entra Joined device.
There are 2 certificates needed on the clients:
- Trusted Root CA
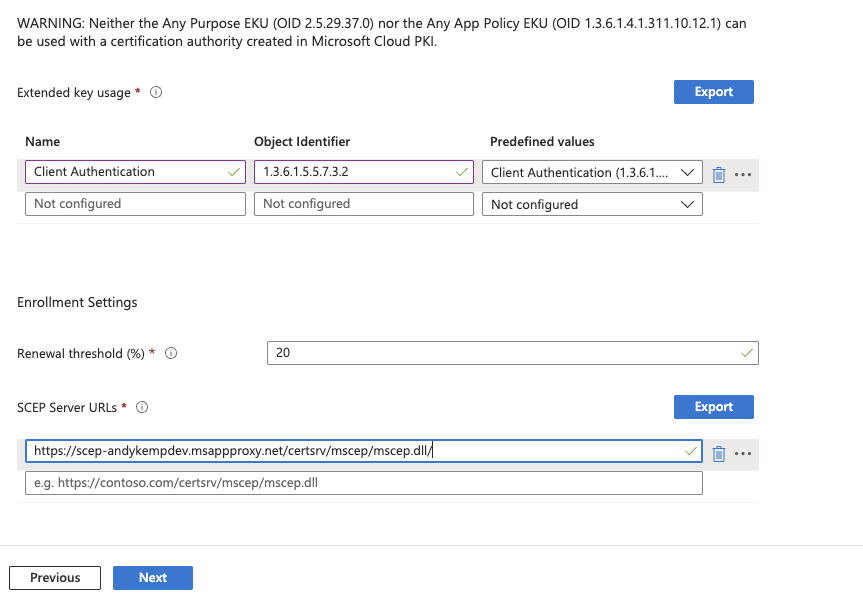
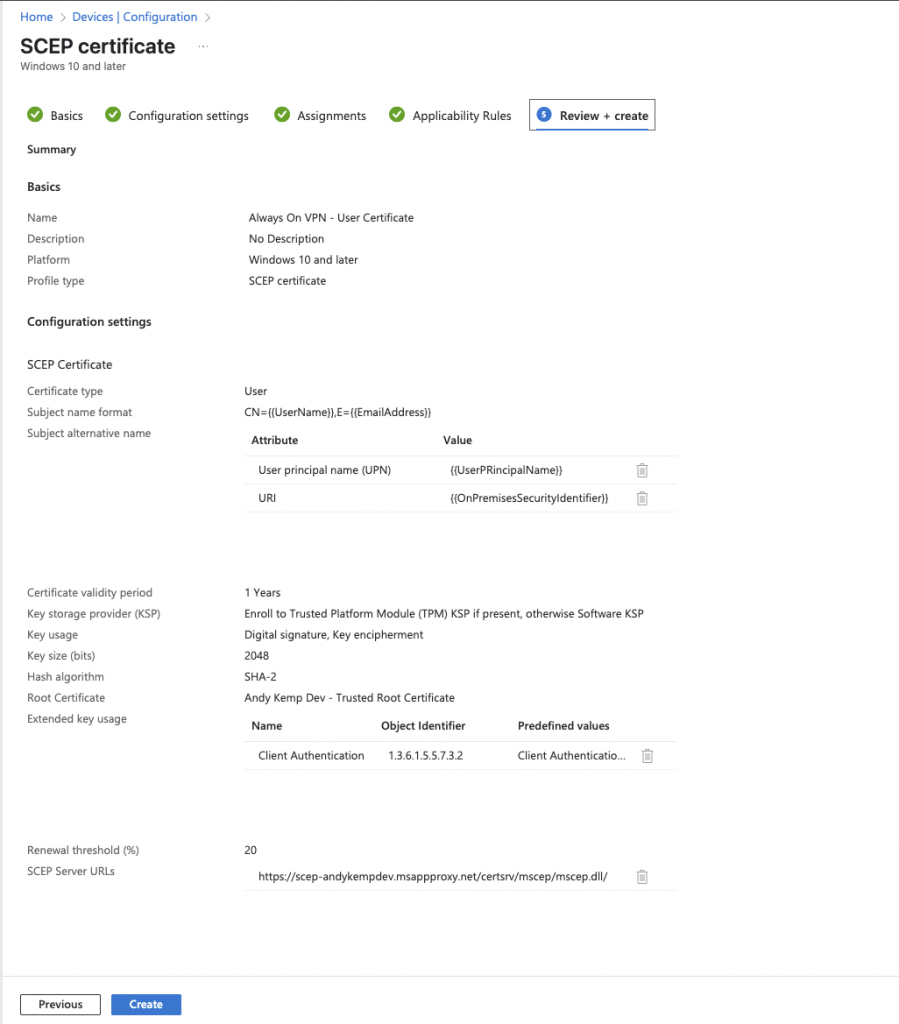
- User SCEP Certificate
One is pushed to the computer store (the Trusted Root CA) and then User SCEP, you got it goes to the user store
Trusted Root Certificate
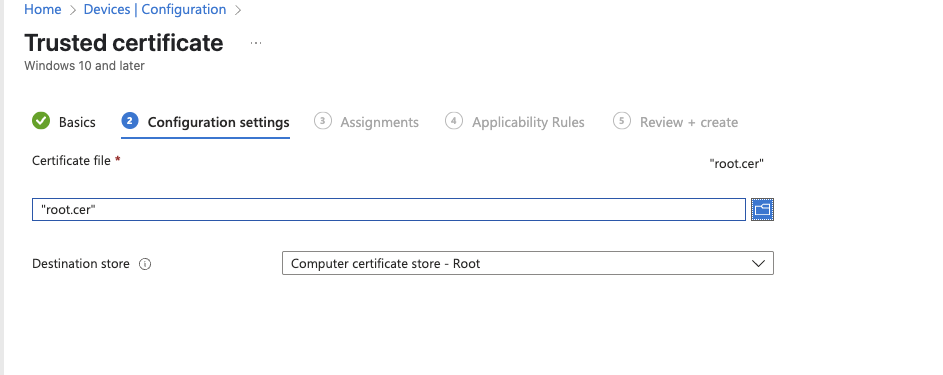
There are two parts to this, first we need to export the root CA from Active Directory then we need to deploy it to the Entra Devices:
Export on-premises Root CA
Open up a command prompt from your management server/PAW and run the following command.
`certutil-config akdev-ca.ad.andykemp.dev\AndyKempDev-CA-ca.cert c:\root.cer`
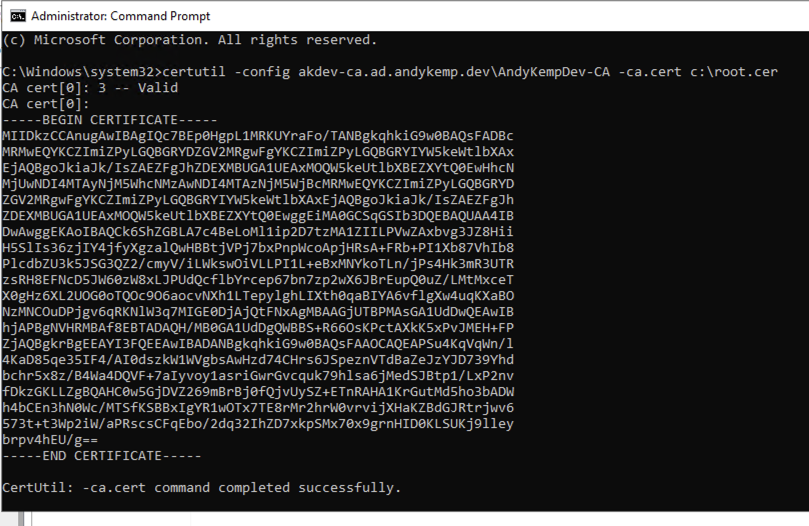
Copy the exported file to a location where you can then upload to an Intune profile
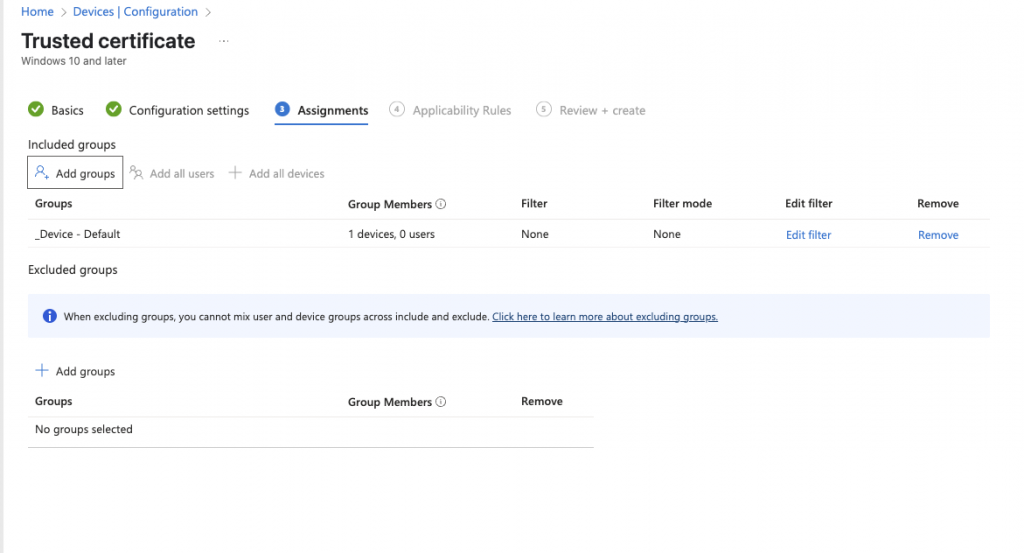
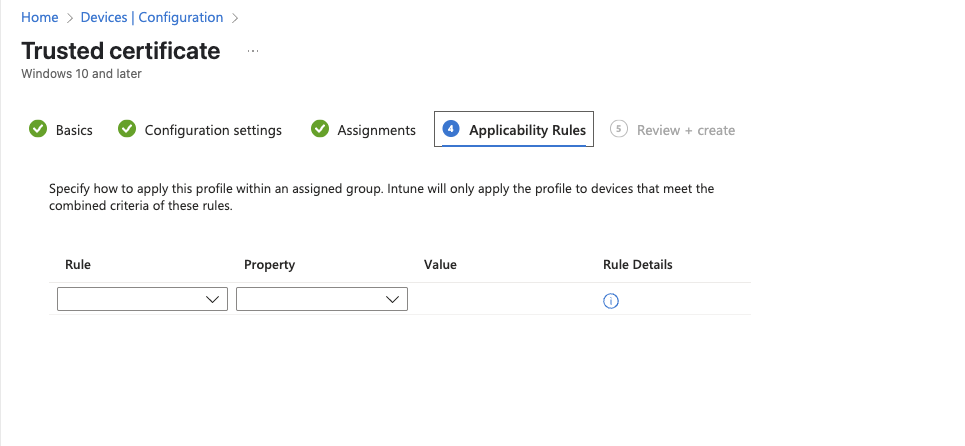
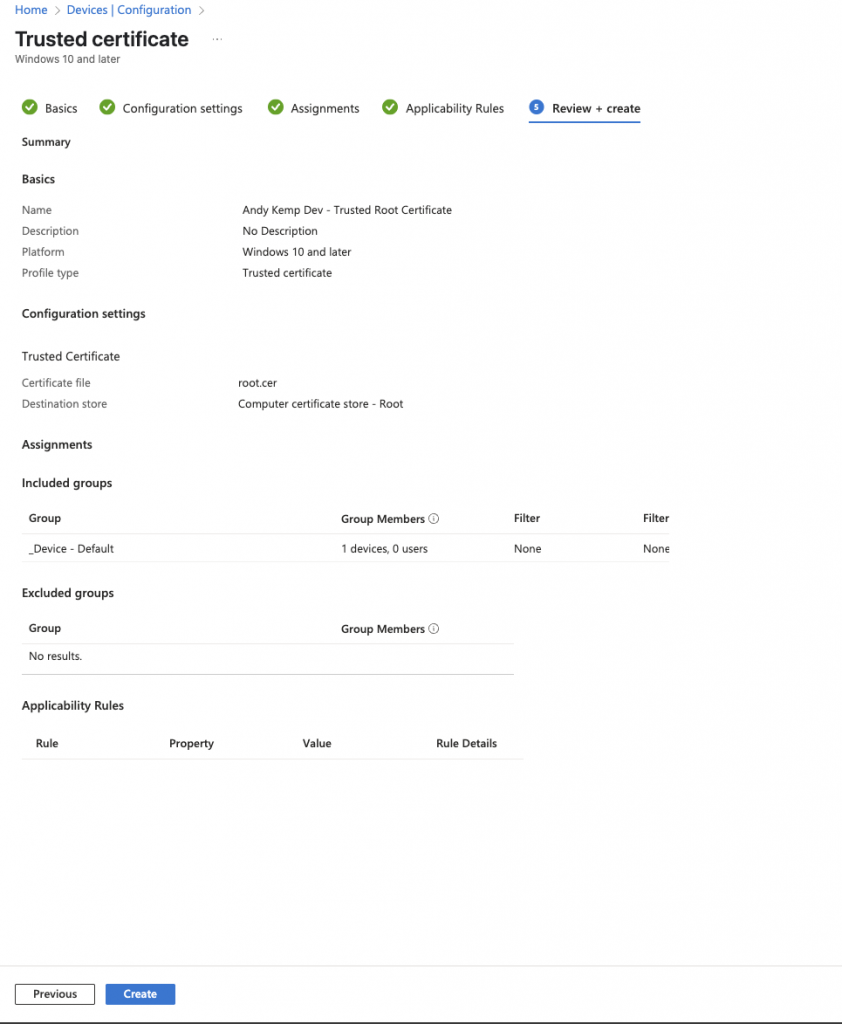
Create the Intune Trusted certificate profile
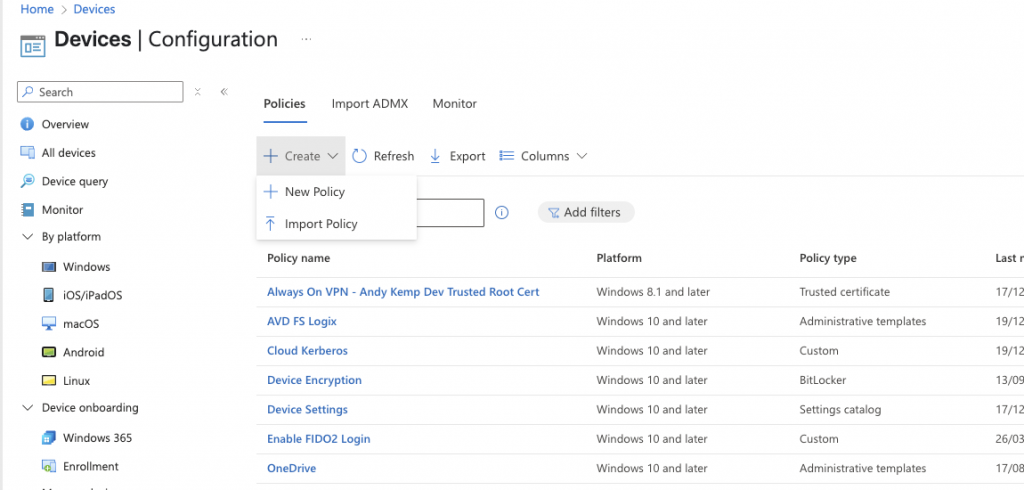
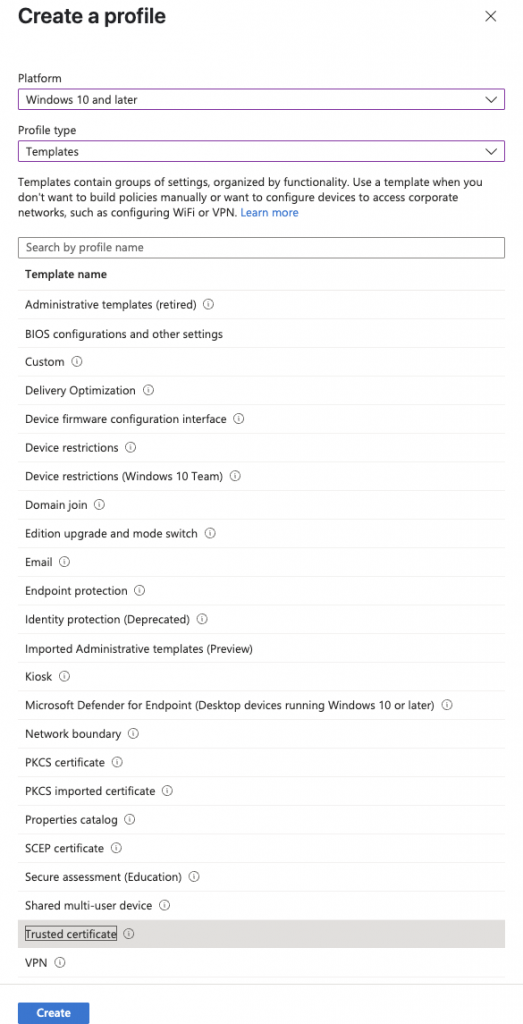
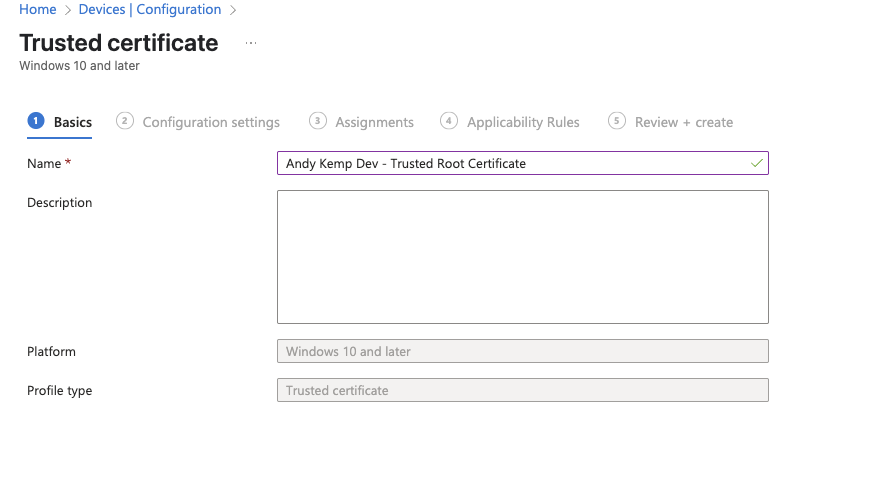
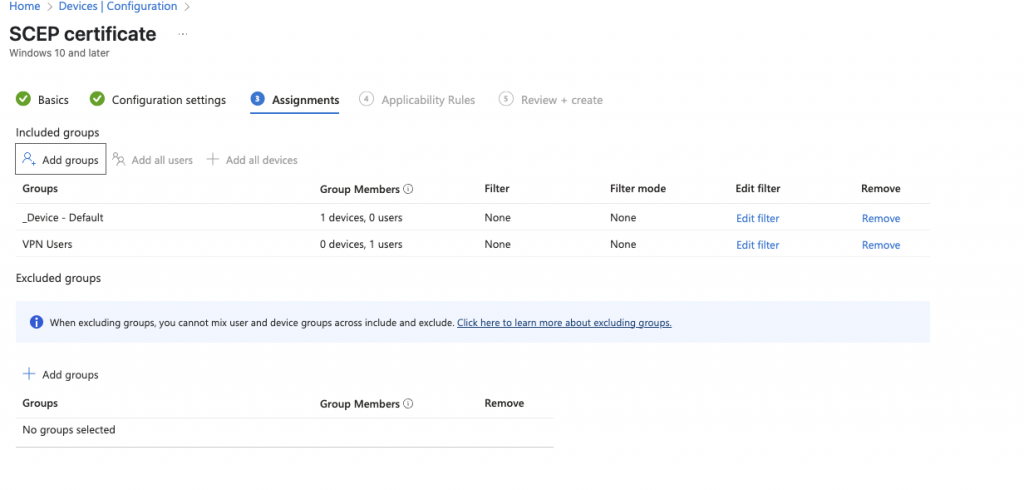
User Certificate Deployment
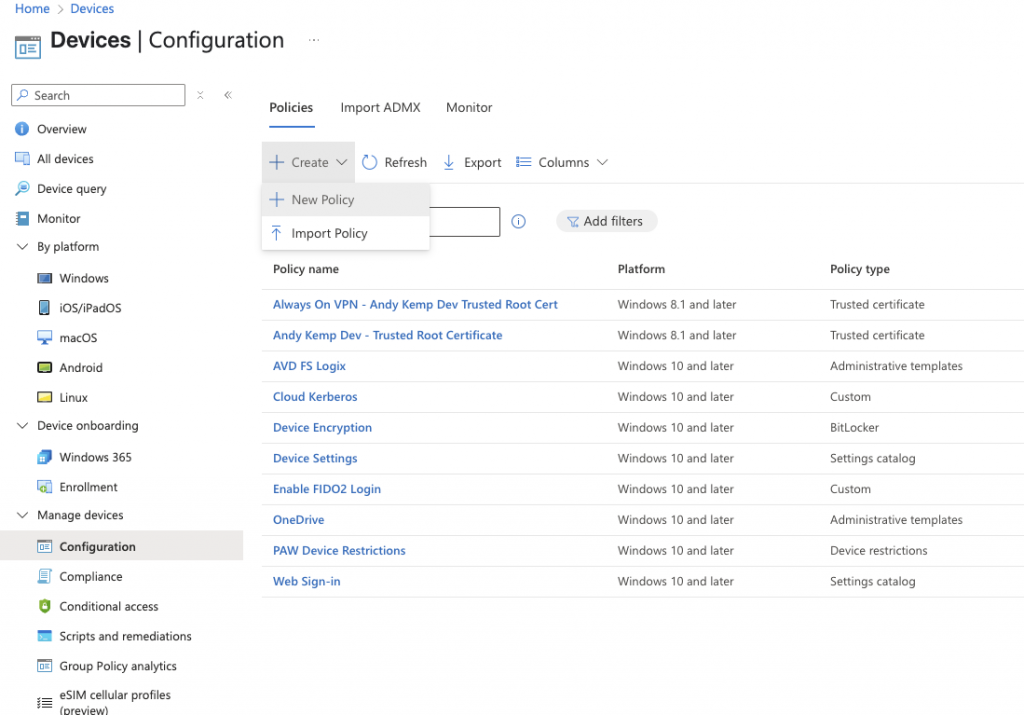
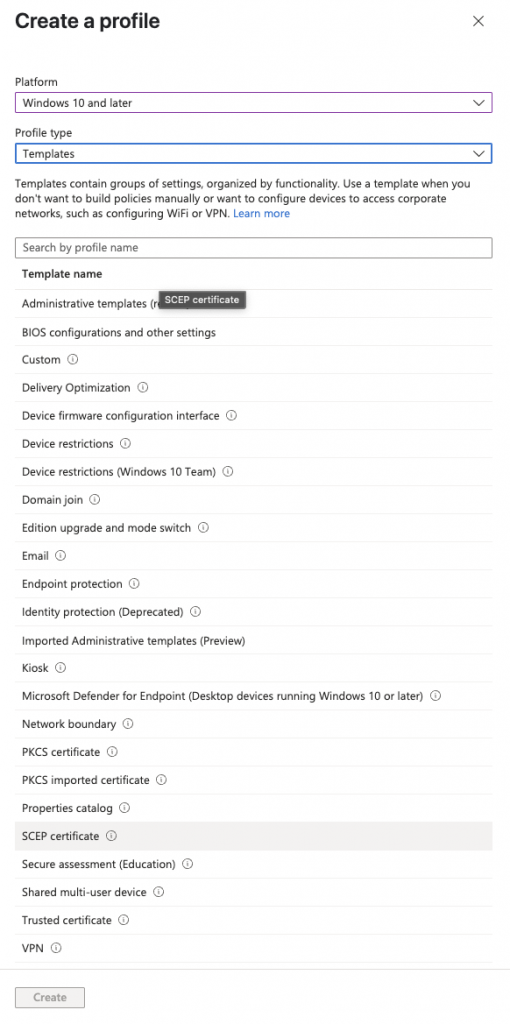
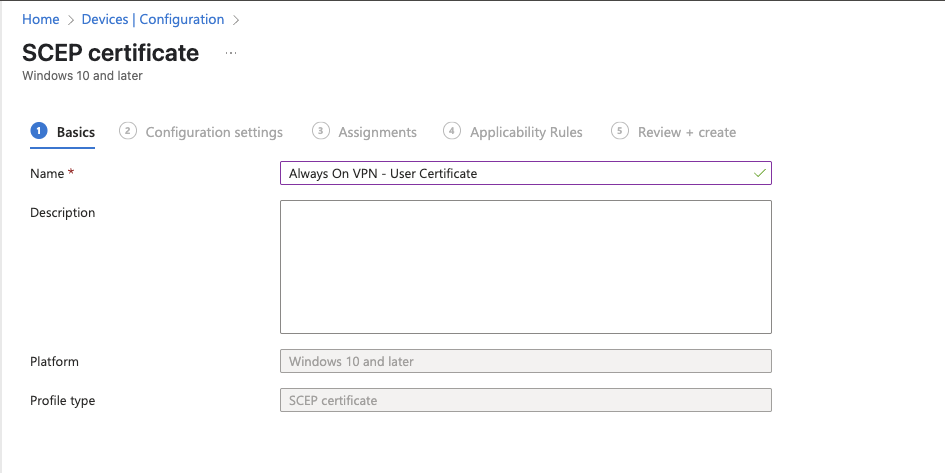
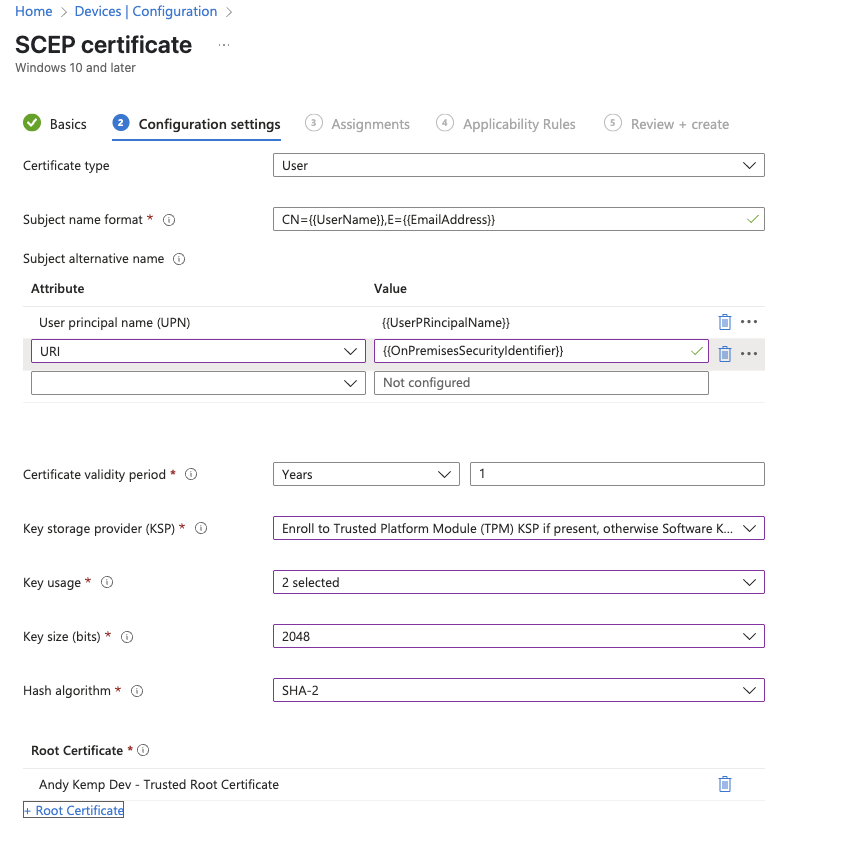
Thats the certificates sorted. Next we need to deploy the VPN Profile.
Create the VPN Profile
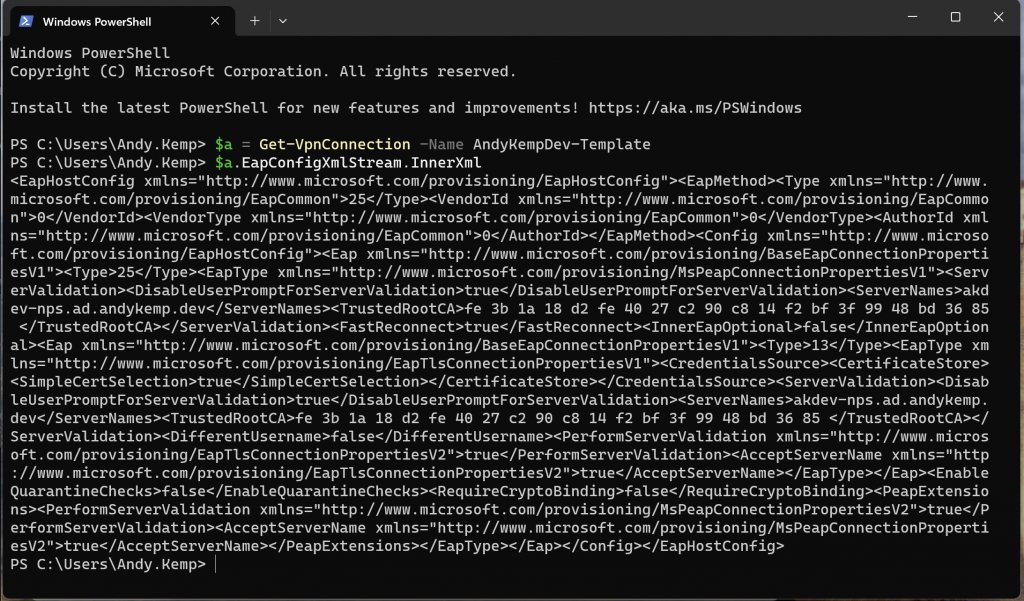
For this we need to go back to the template we created earlier to get some settings:
`$a=Get-VpnConnection-Name AndyKempDev-Template$a.EapConfigXmlStream.InnerXml`
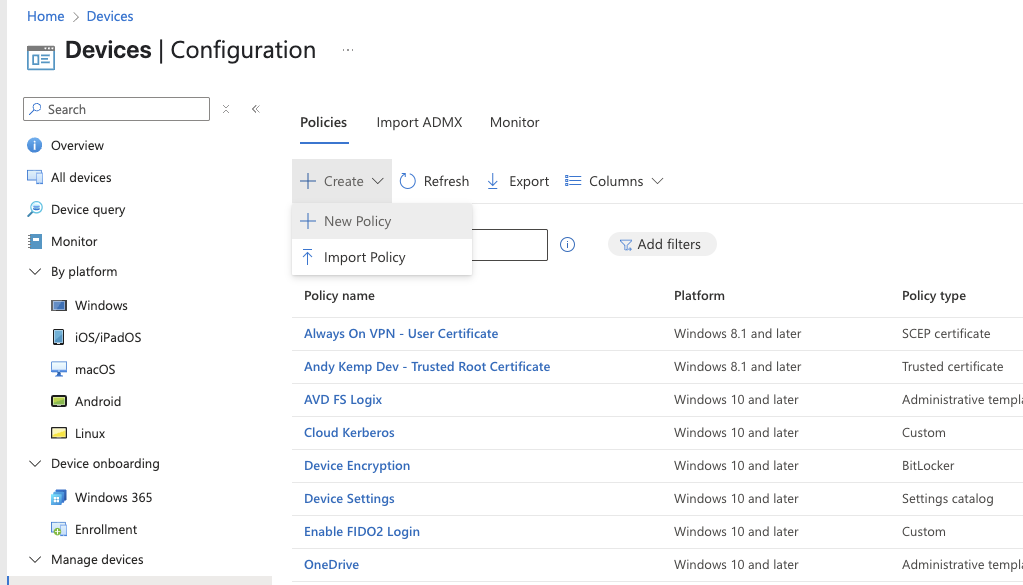
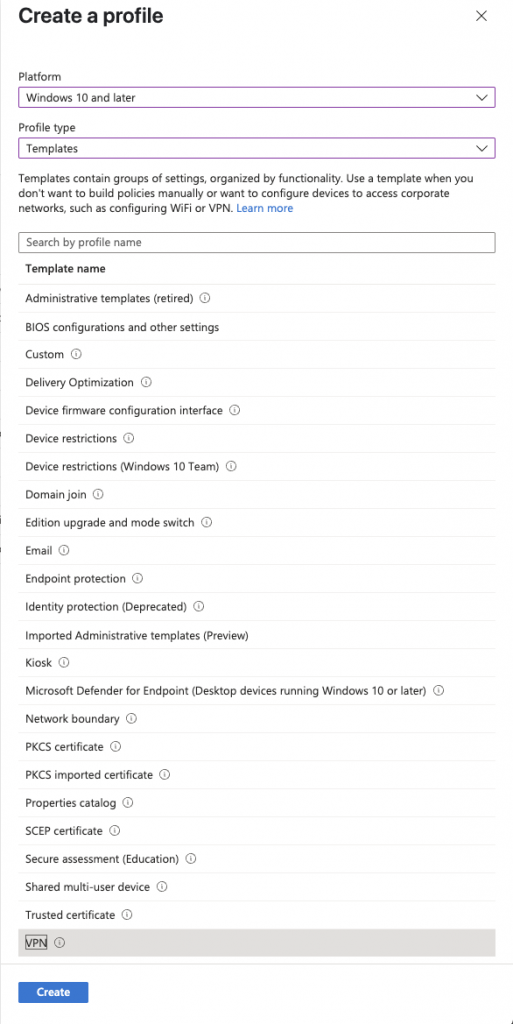
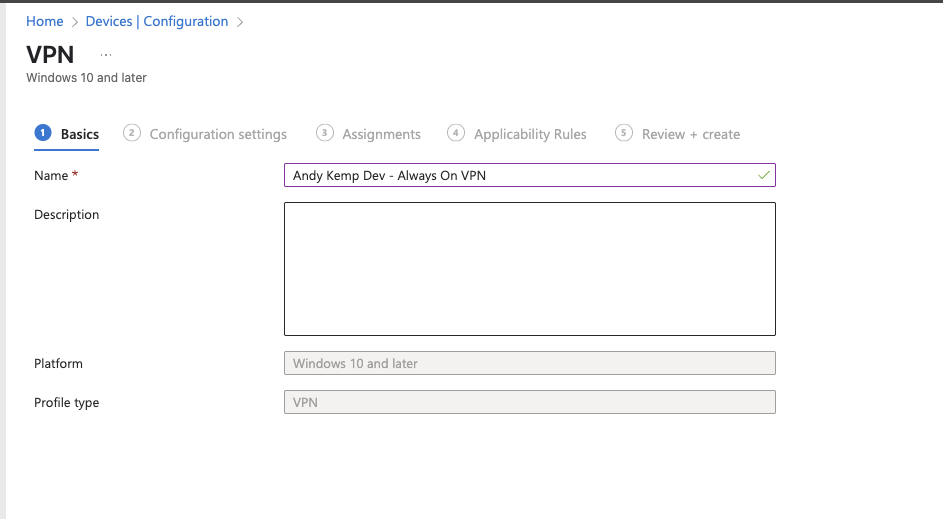
Provide a meaningful name for the policy
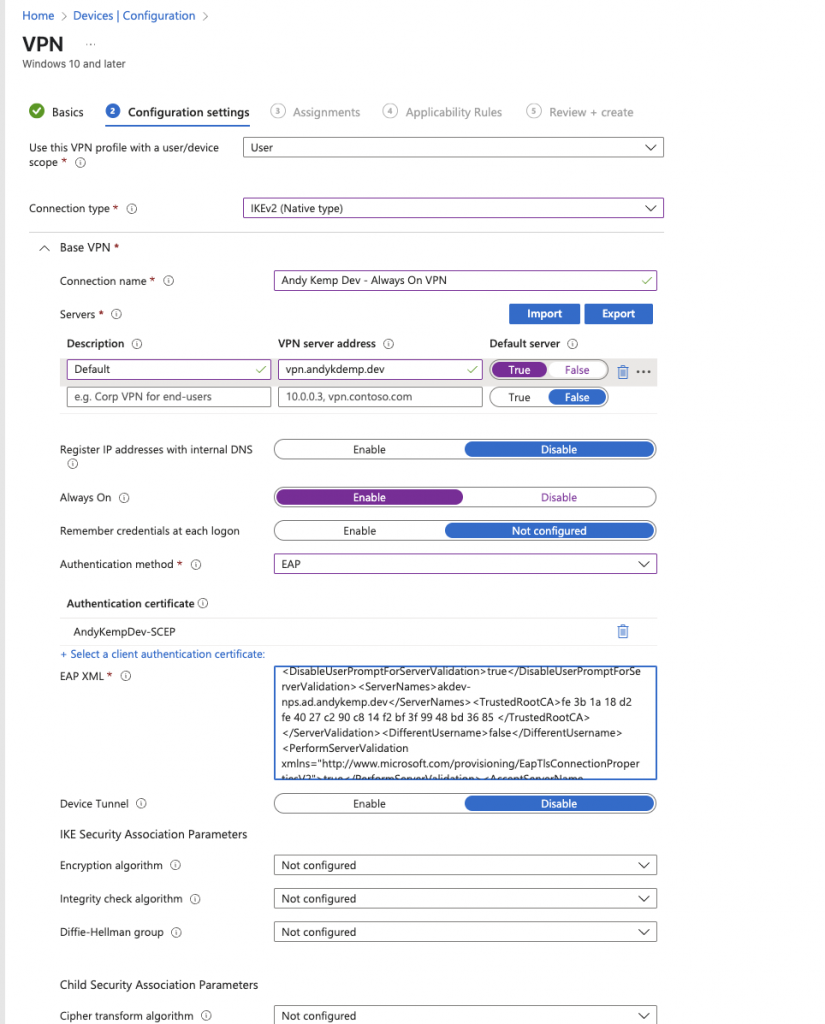
SelectUserfor the profile scope and then selectIKEv2for connection type
Provide a connection name and then set the VPN Server address, in my case it isvpn.andykemp.dev. provide a description for the Base VPN settings and I specified this connection to be the default.
Your preference to register connection with DNS or not and also to set it to be Always On (hence the name) I usually set both DNS and Always On toEnable.
The Authentication method to use isEAPthen for theAuthentication Certificateselect the User certificate profile previously created.
Paste in the XML you got from the previous step when exporting the information from the connection template.
LeaveDevice TunnelasDisableand theIKE Security Association Parametersas they are. then go down toDNS
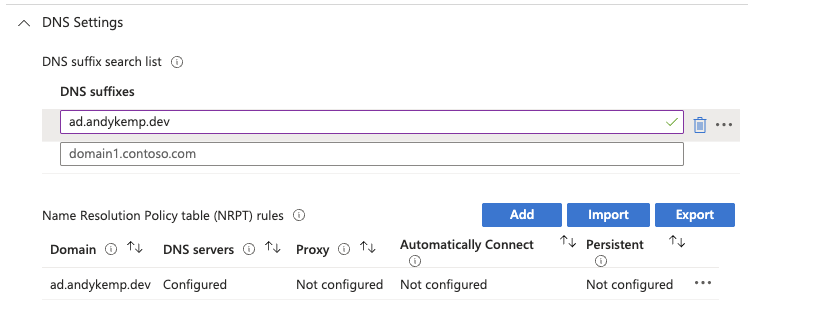
InDNSadd you AD FQDN as the DNS Suffix and then clickAddfor the NRPT:
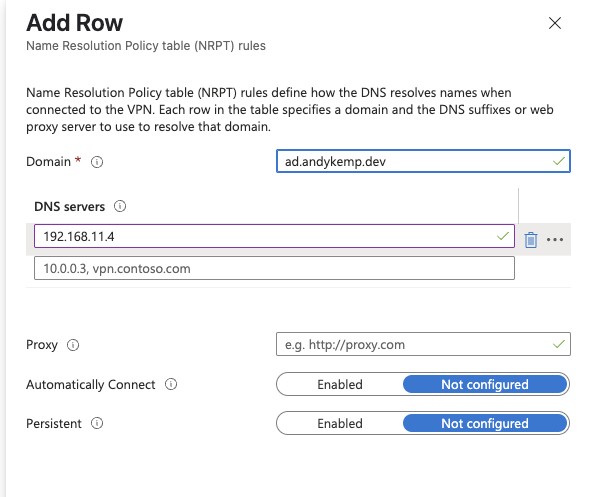
Add the AD FQDN again and then add your DNS Server IP addresses.
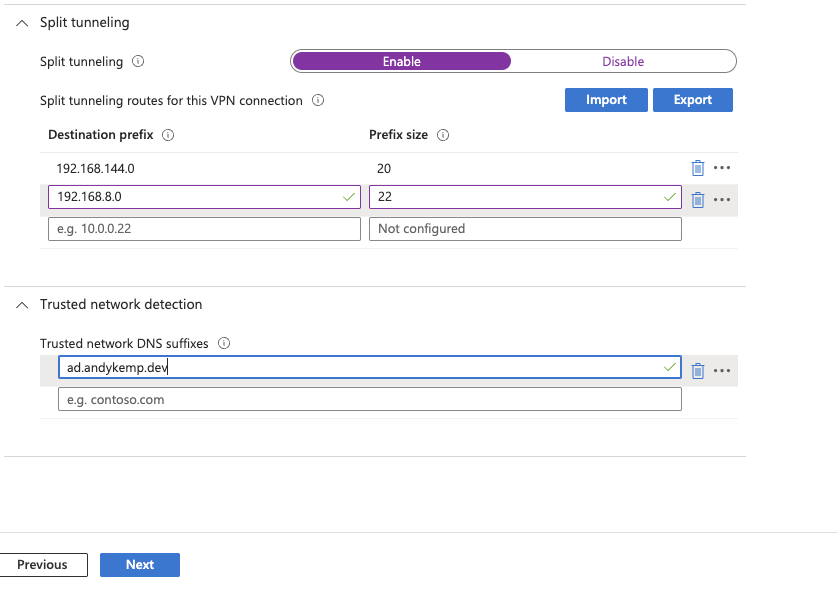
On theSplit TunnelingselectEnableand then add in your network ranges.
Then add in yourTrusted network detectionto detect local connection when it can resolve your AD FQDN before it establishes a connection. Then clickNext
Add your device and user groups to the assignments of the profile:
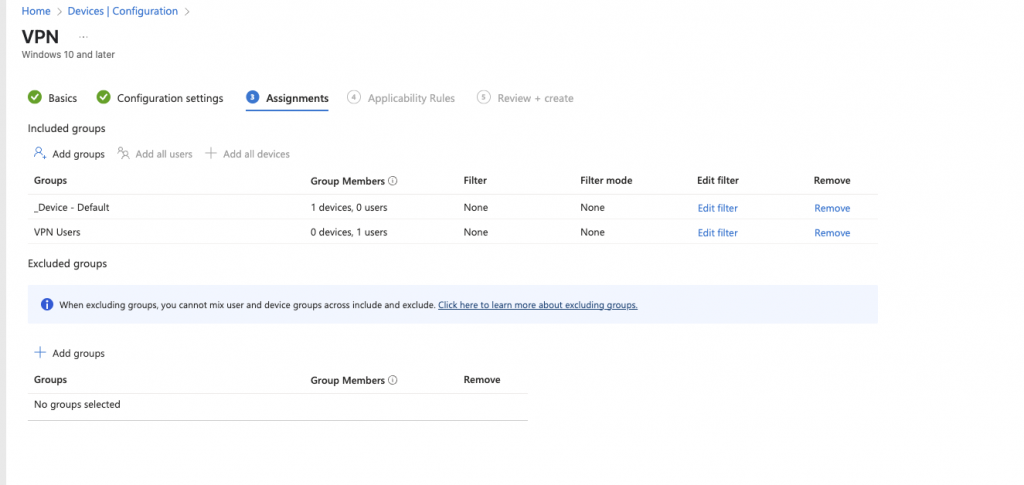
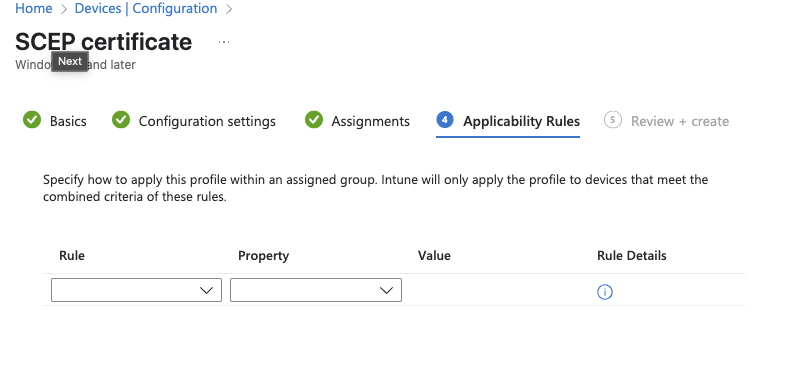
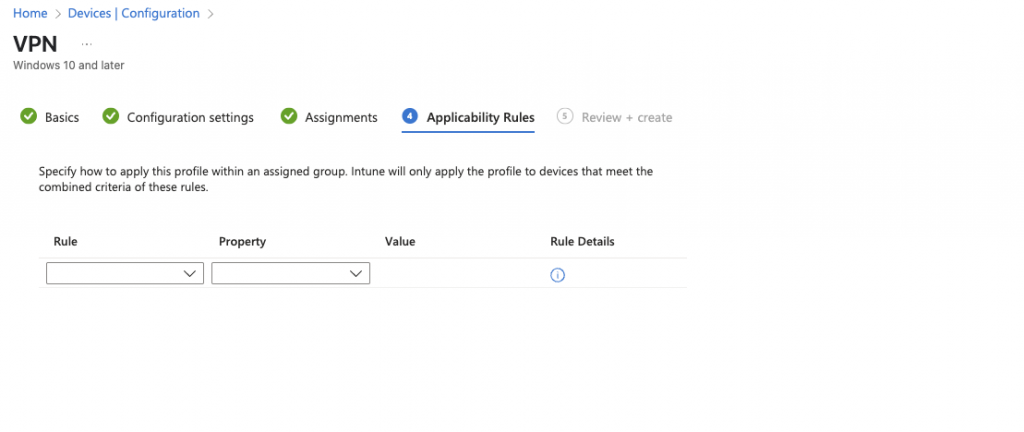
Add in any applicableApplicability Rulesand then go toReview + create:
Review the configuration and then click onCreate:
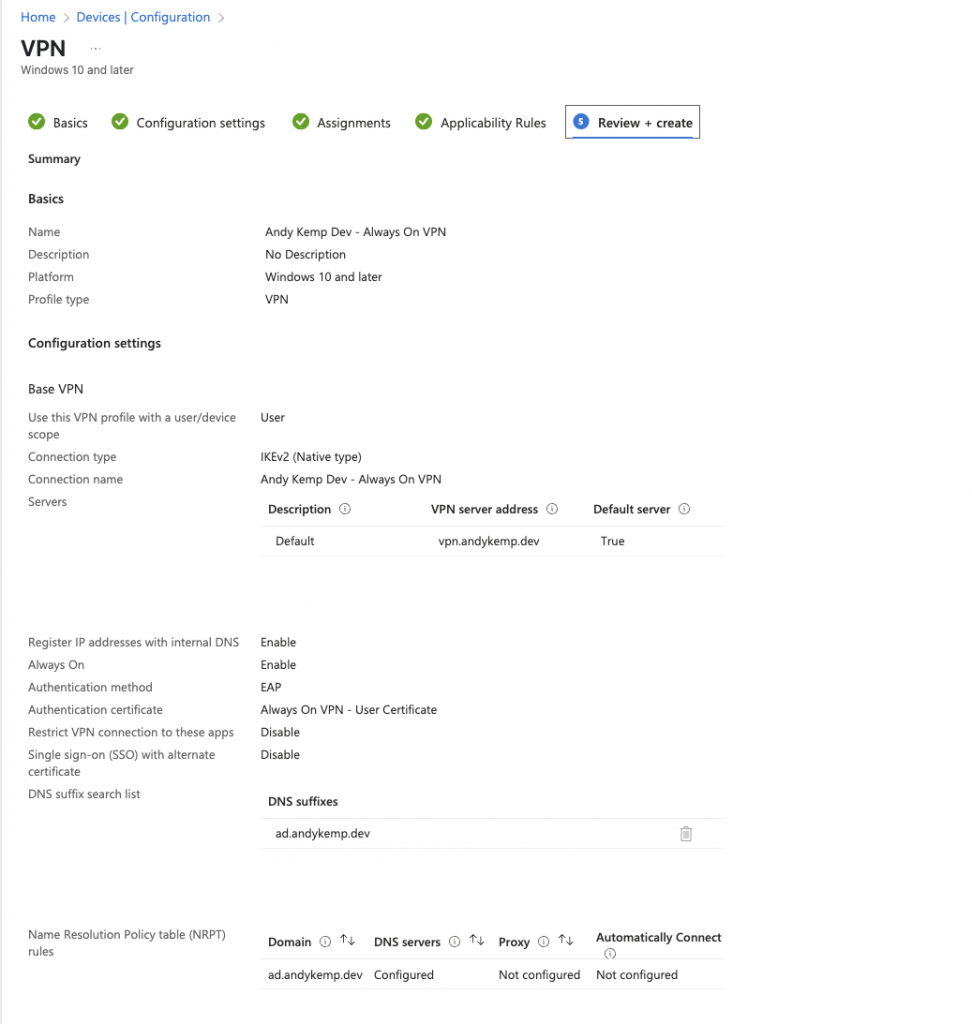
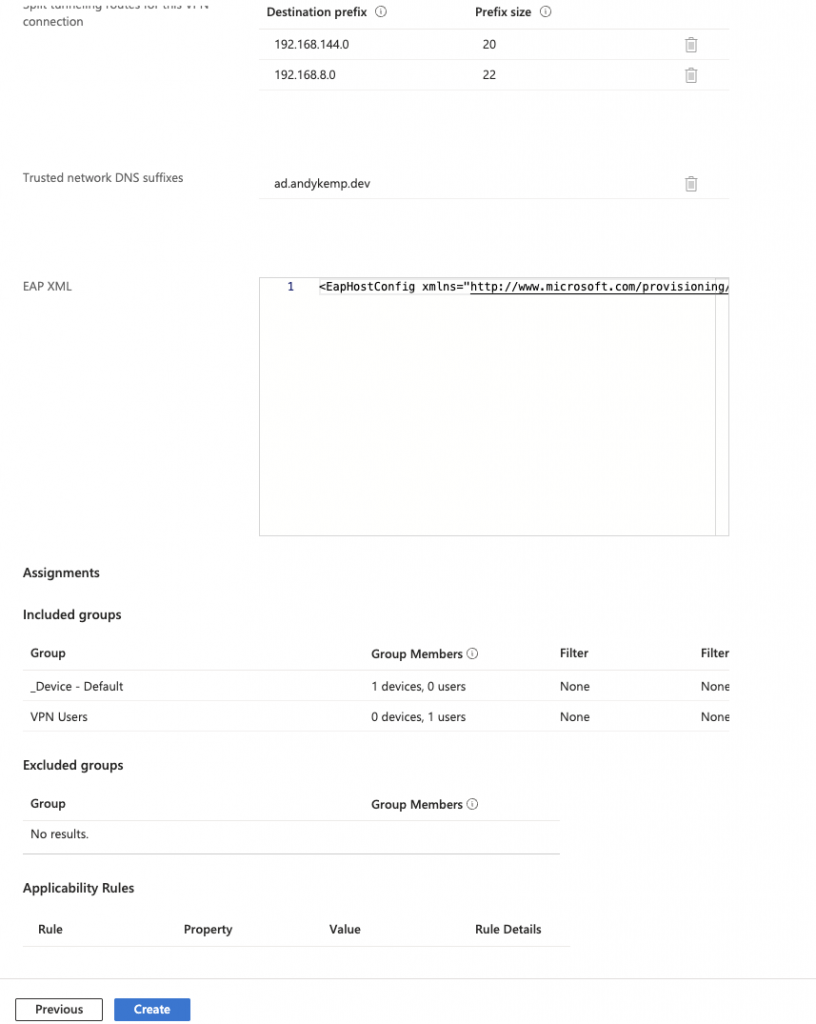
This will the create and deploy the VPN connection to the users and devices.
Client Device
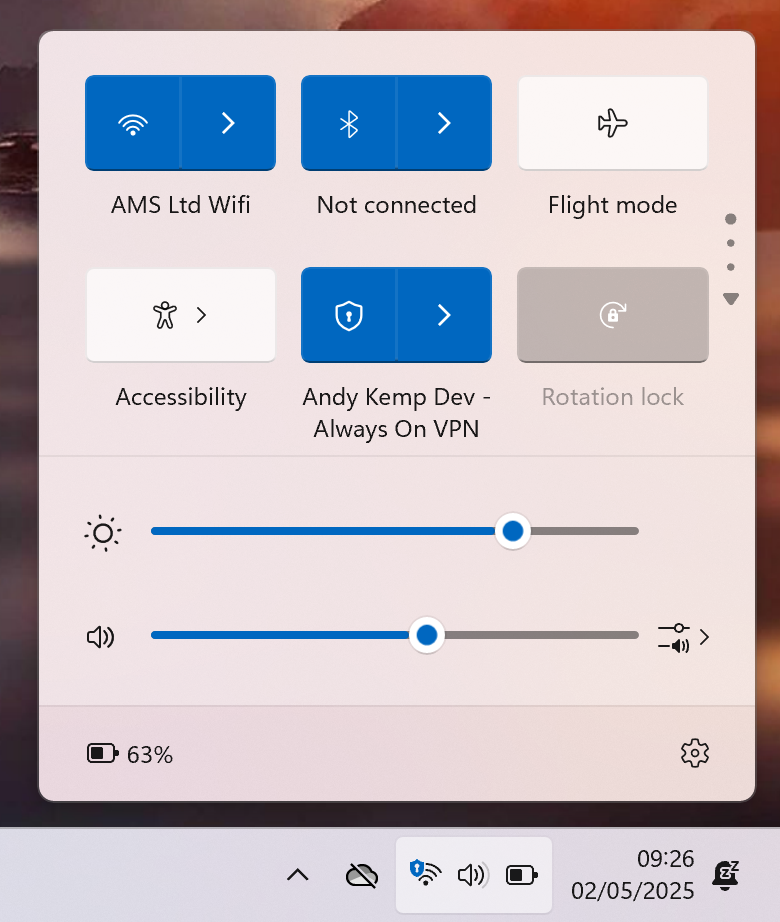
Log on to an Entra Joined client device and verify that the new VPN Profile has been applied. IF the certificates have been deployed the VPN Connection will connect automatically:
Conclusion
You should now have the infrastructure in place to deploy Always On VPN to not only Domain Joined Devices, but to Entra Joined devices too. If you are running Windows Hello for Business (WHfB) with your Entra Joined devices then you will also need look at deploying Cloud Kerberos Trust, this will allow single sign on to your on-premises applications when you log on with WHfB and passwordless.
Obviously there is a a requirement for the NDES infrastructure, its not much in the way of requirements (an additional server) in this case, but could scale up if required. So with that in mind I’m keen to look at the Cloud PKI service from Intune next.
Comments
No comments yet — be the first to leave one below.